Renovation: Granger Ave.
Completed November 2017
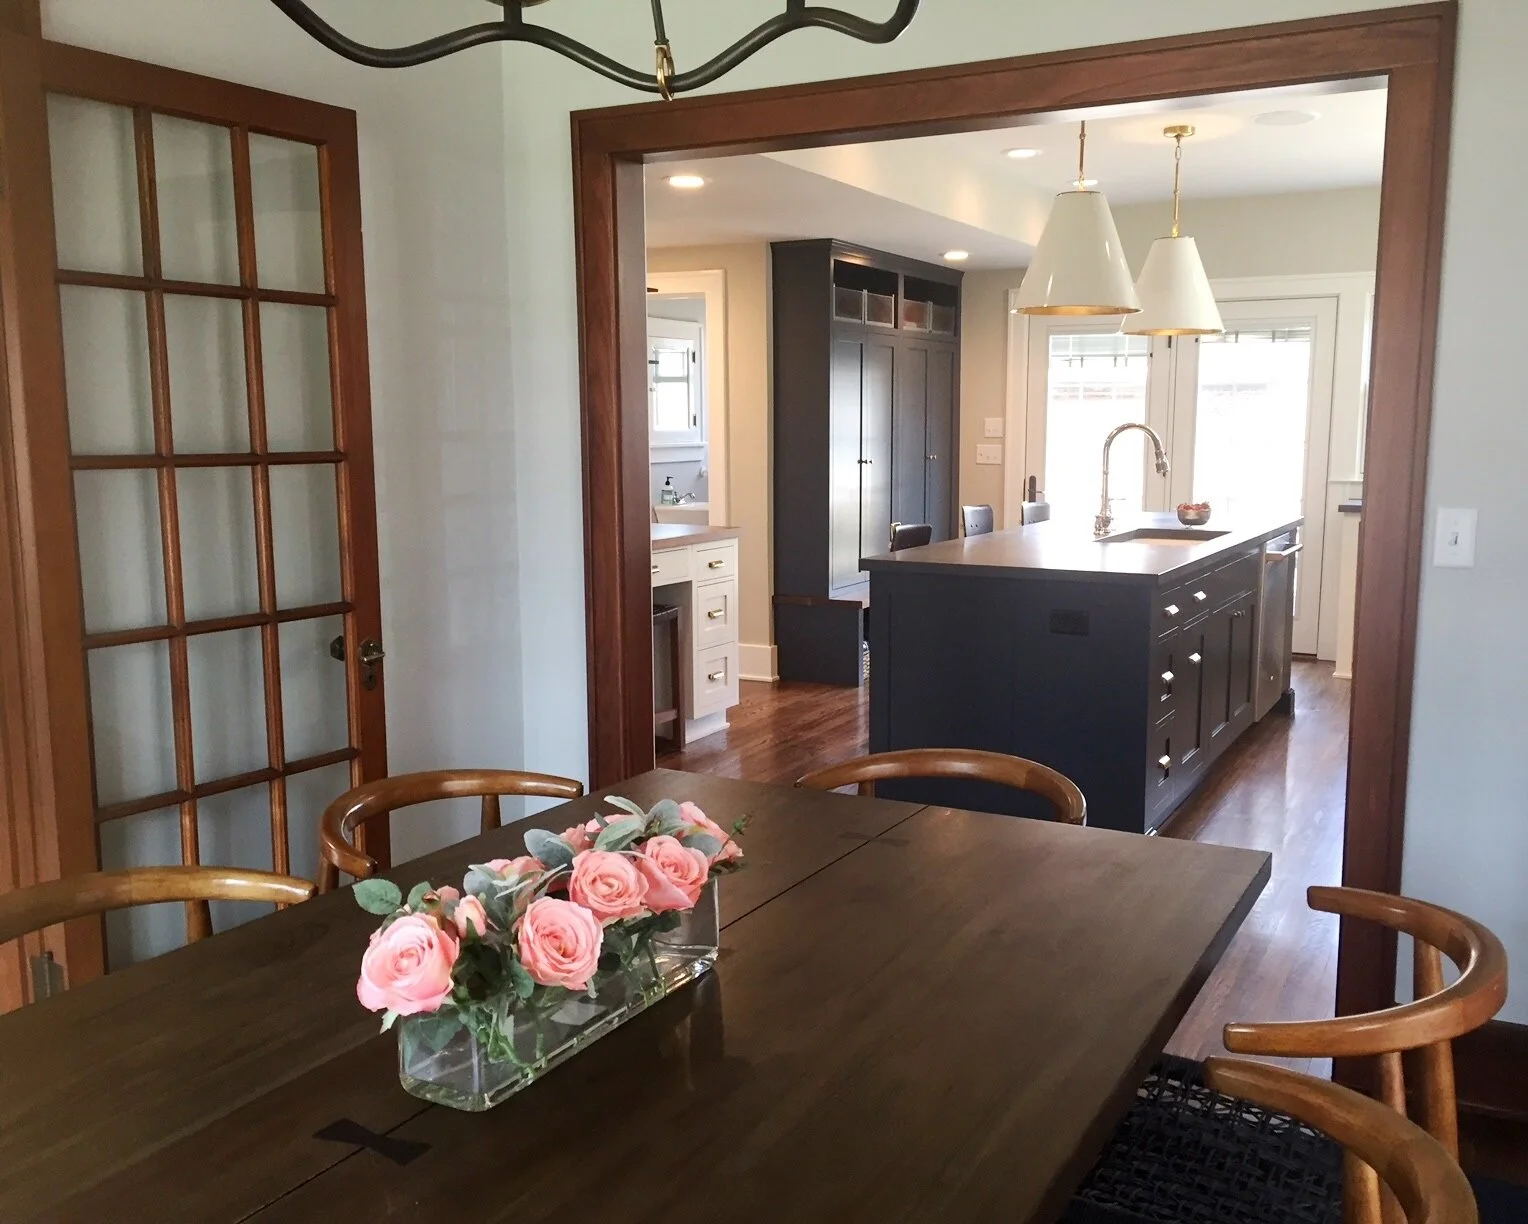
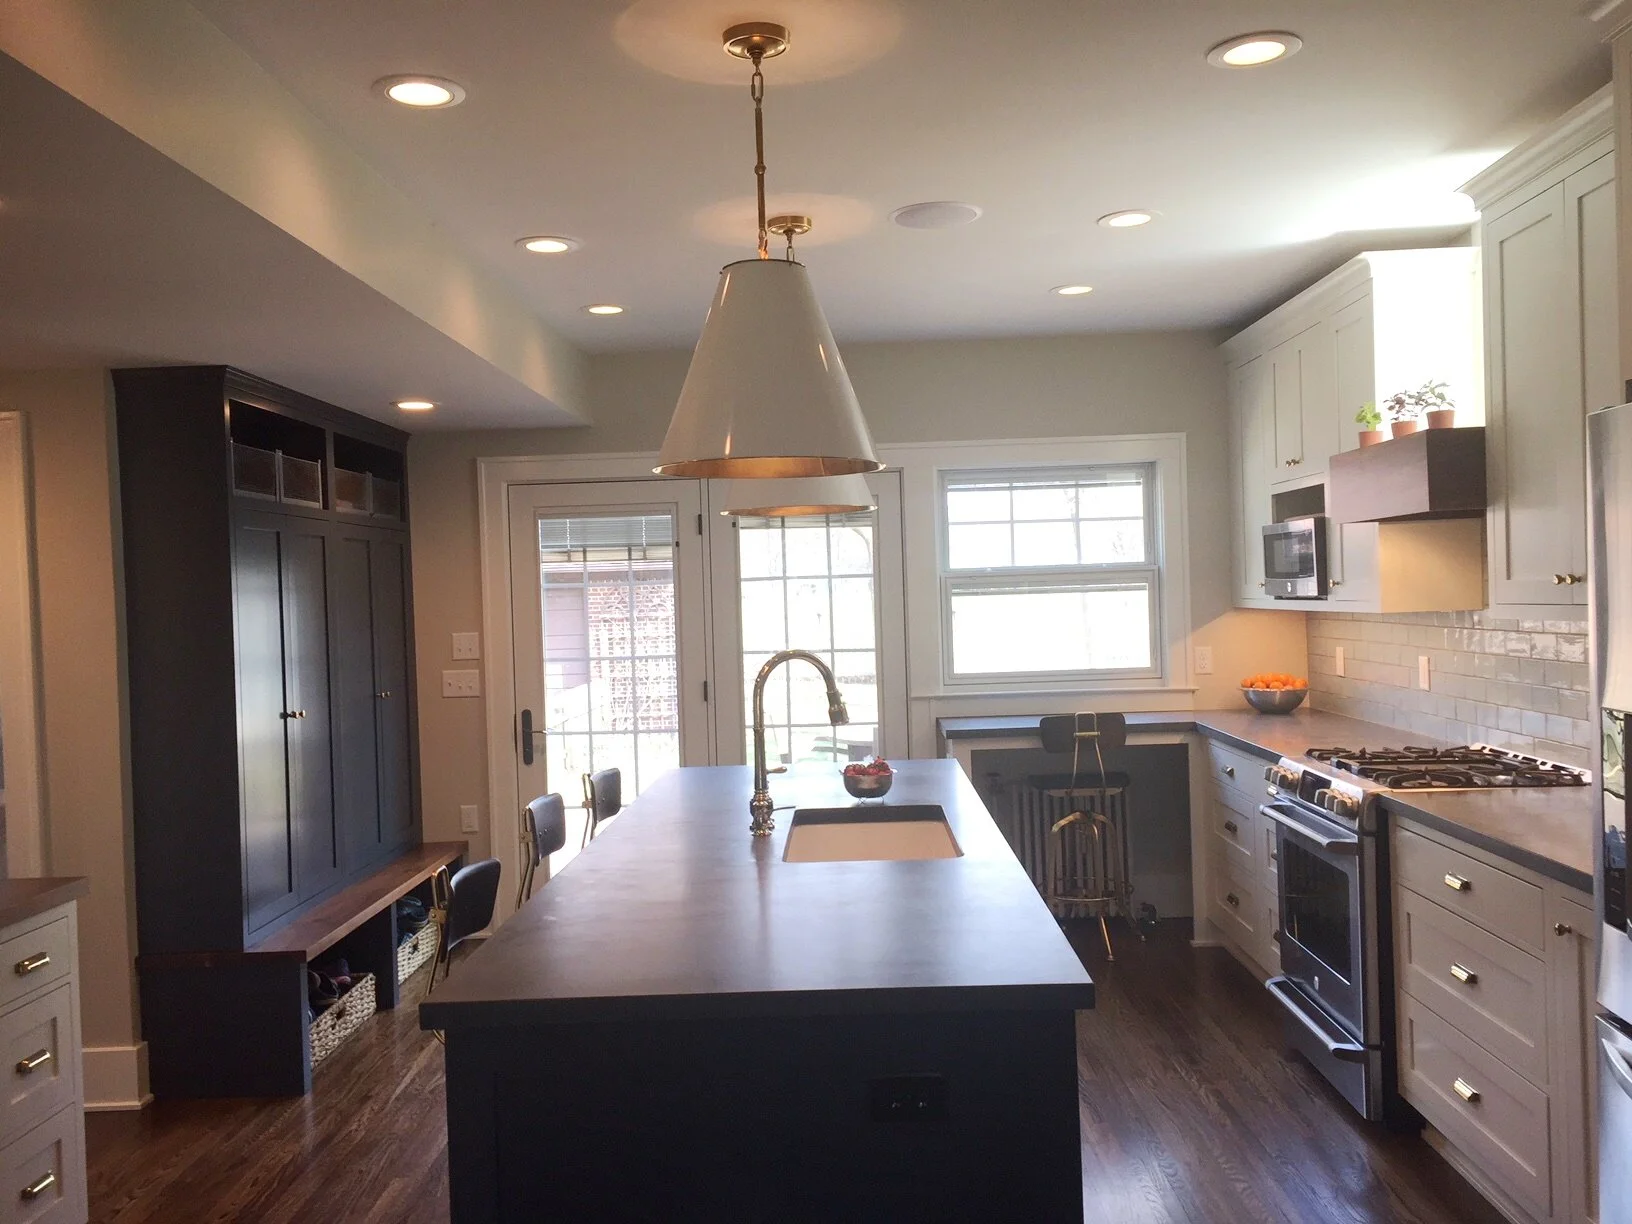
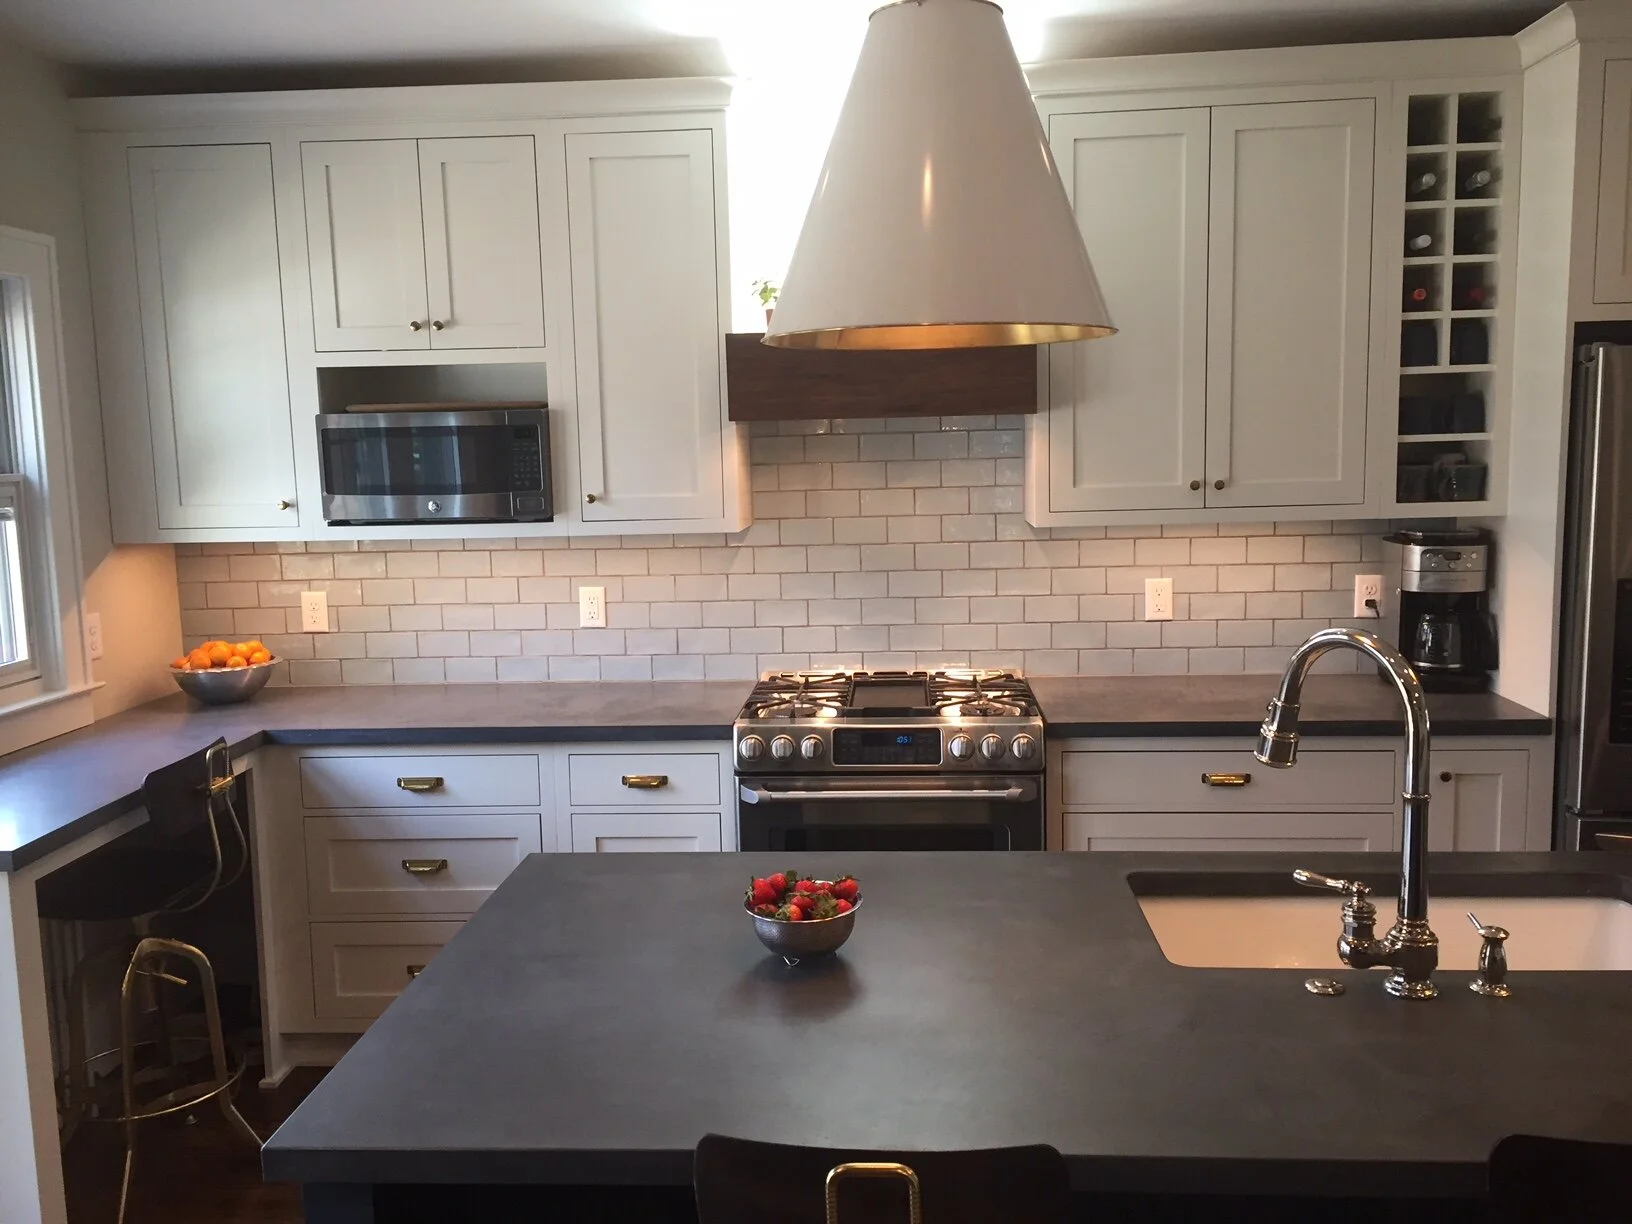
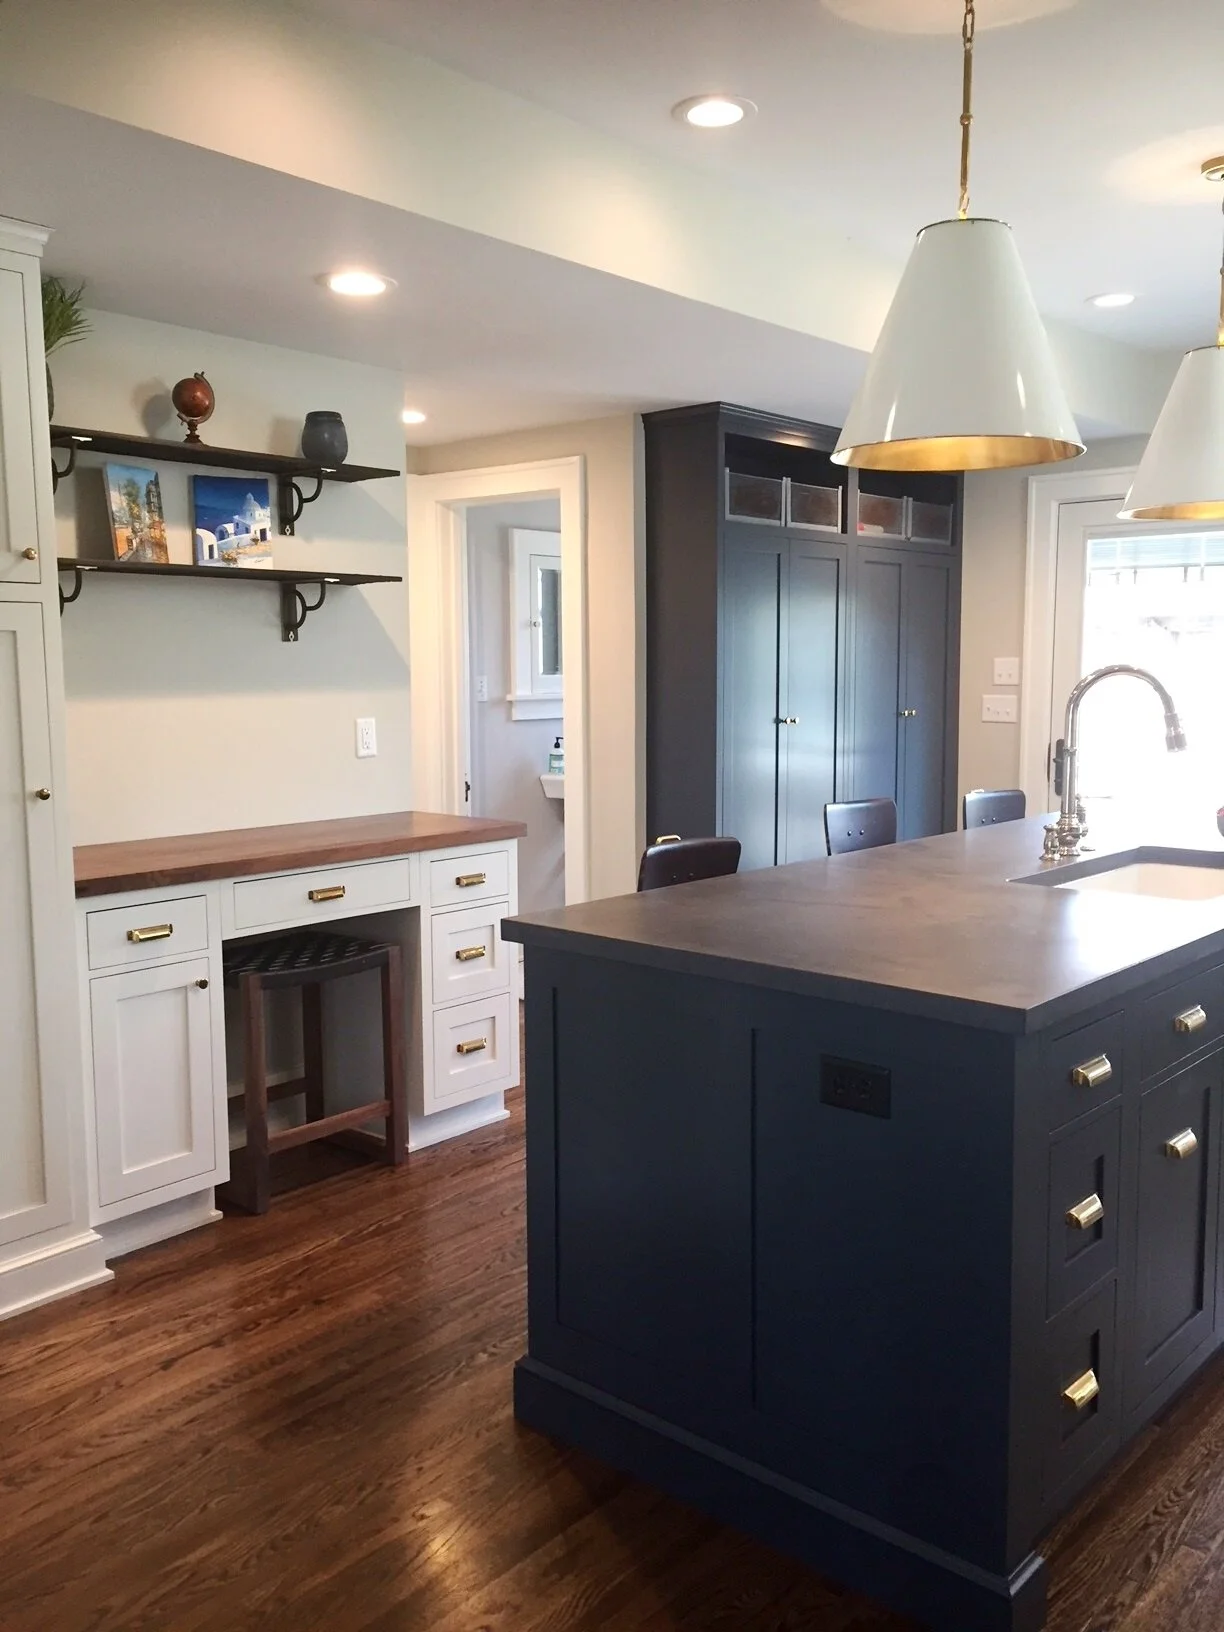
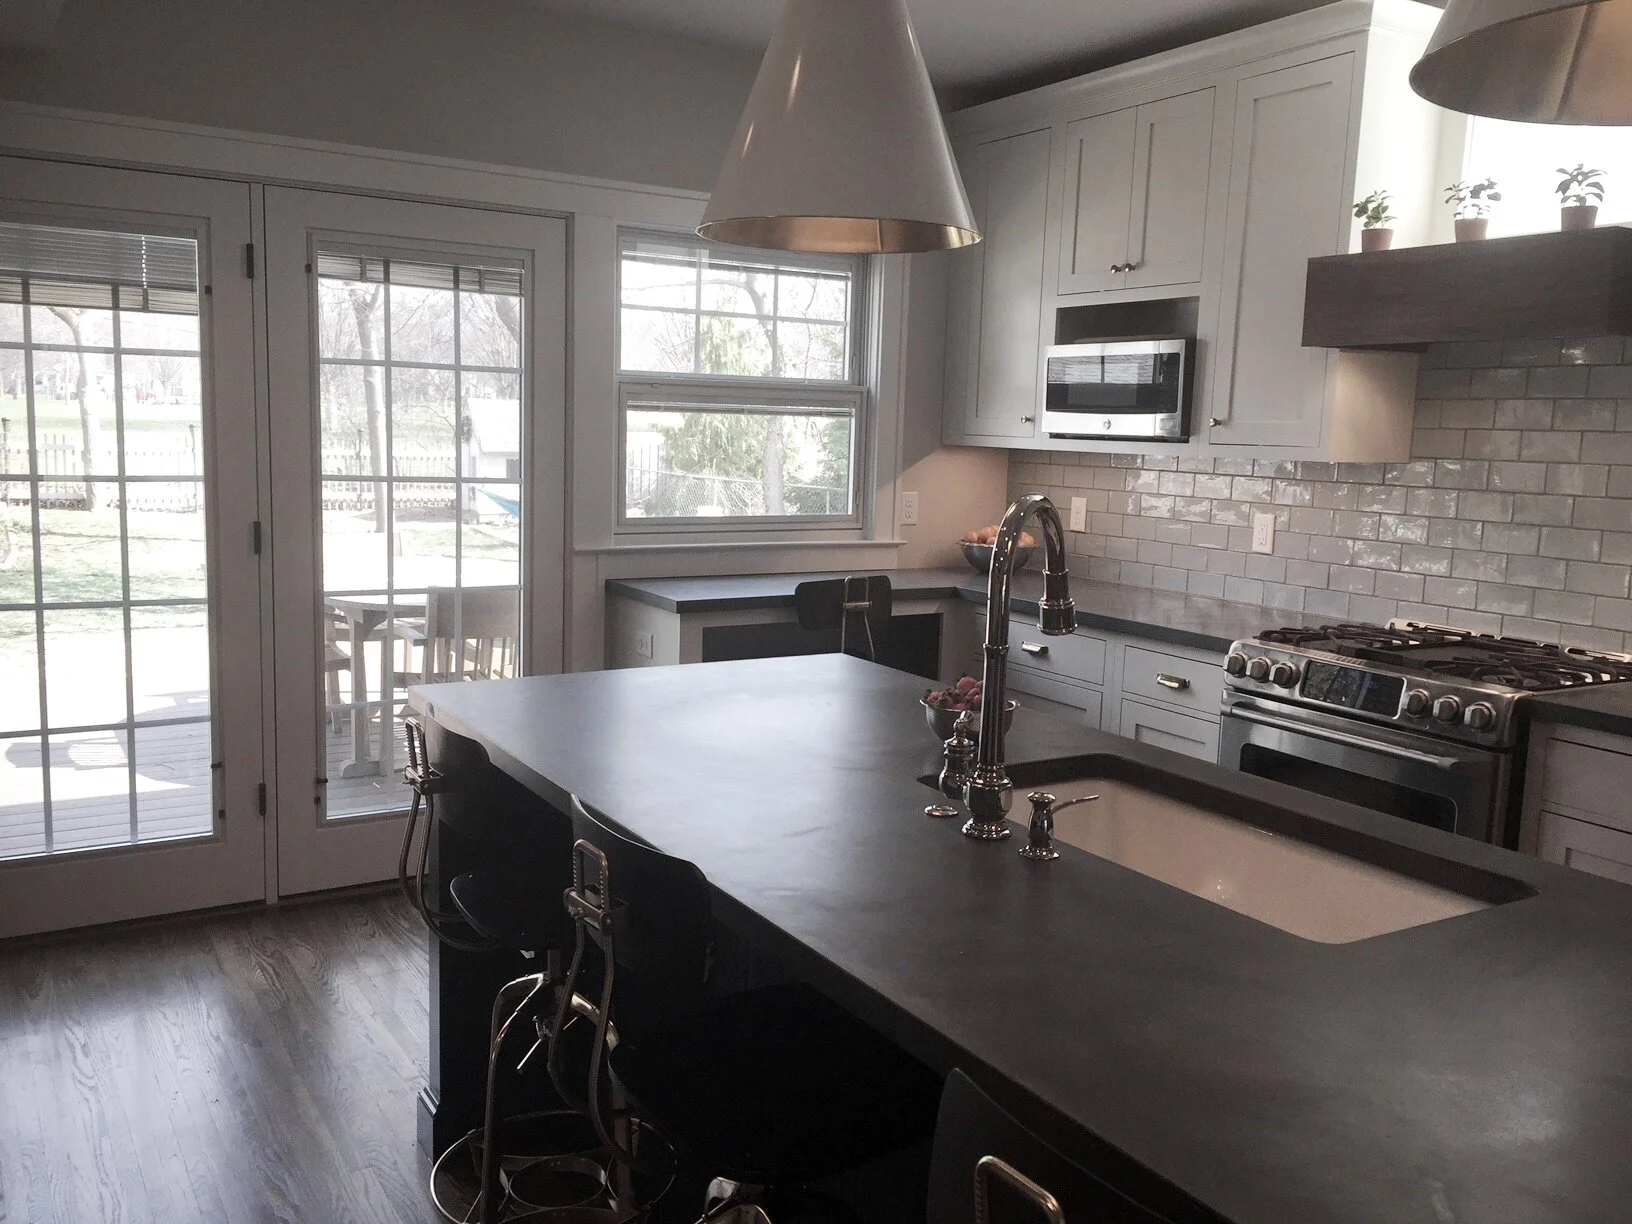
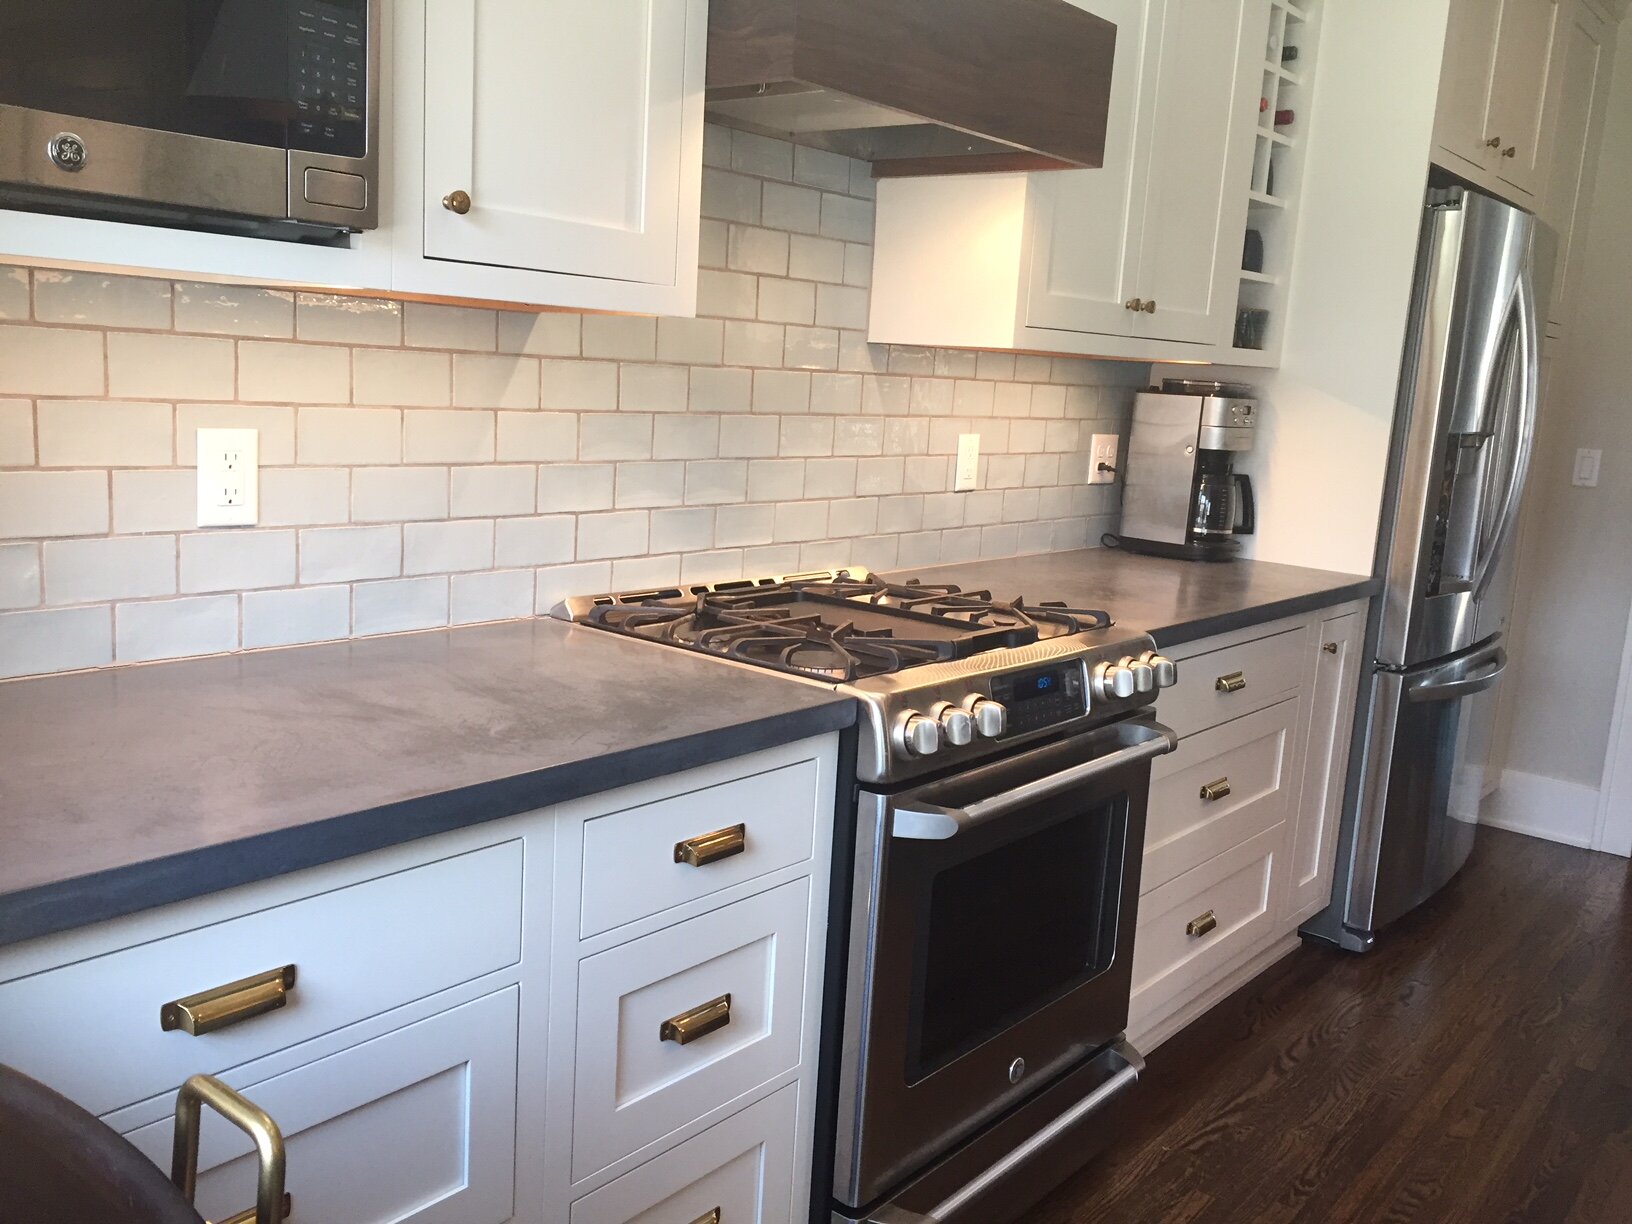
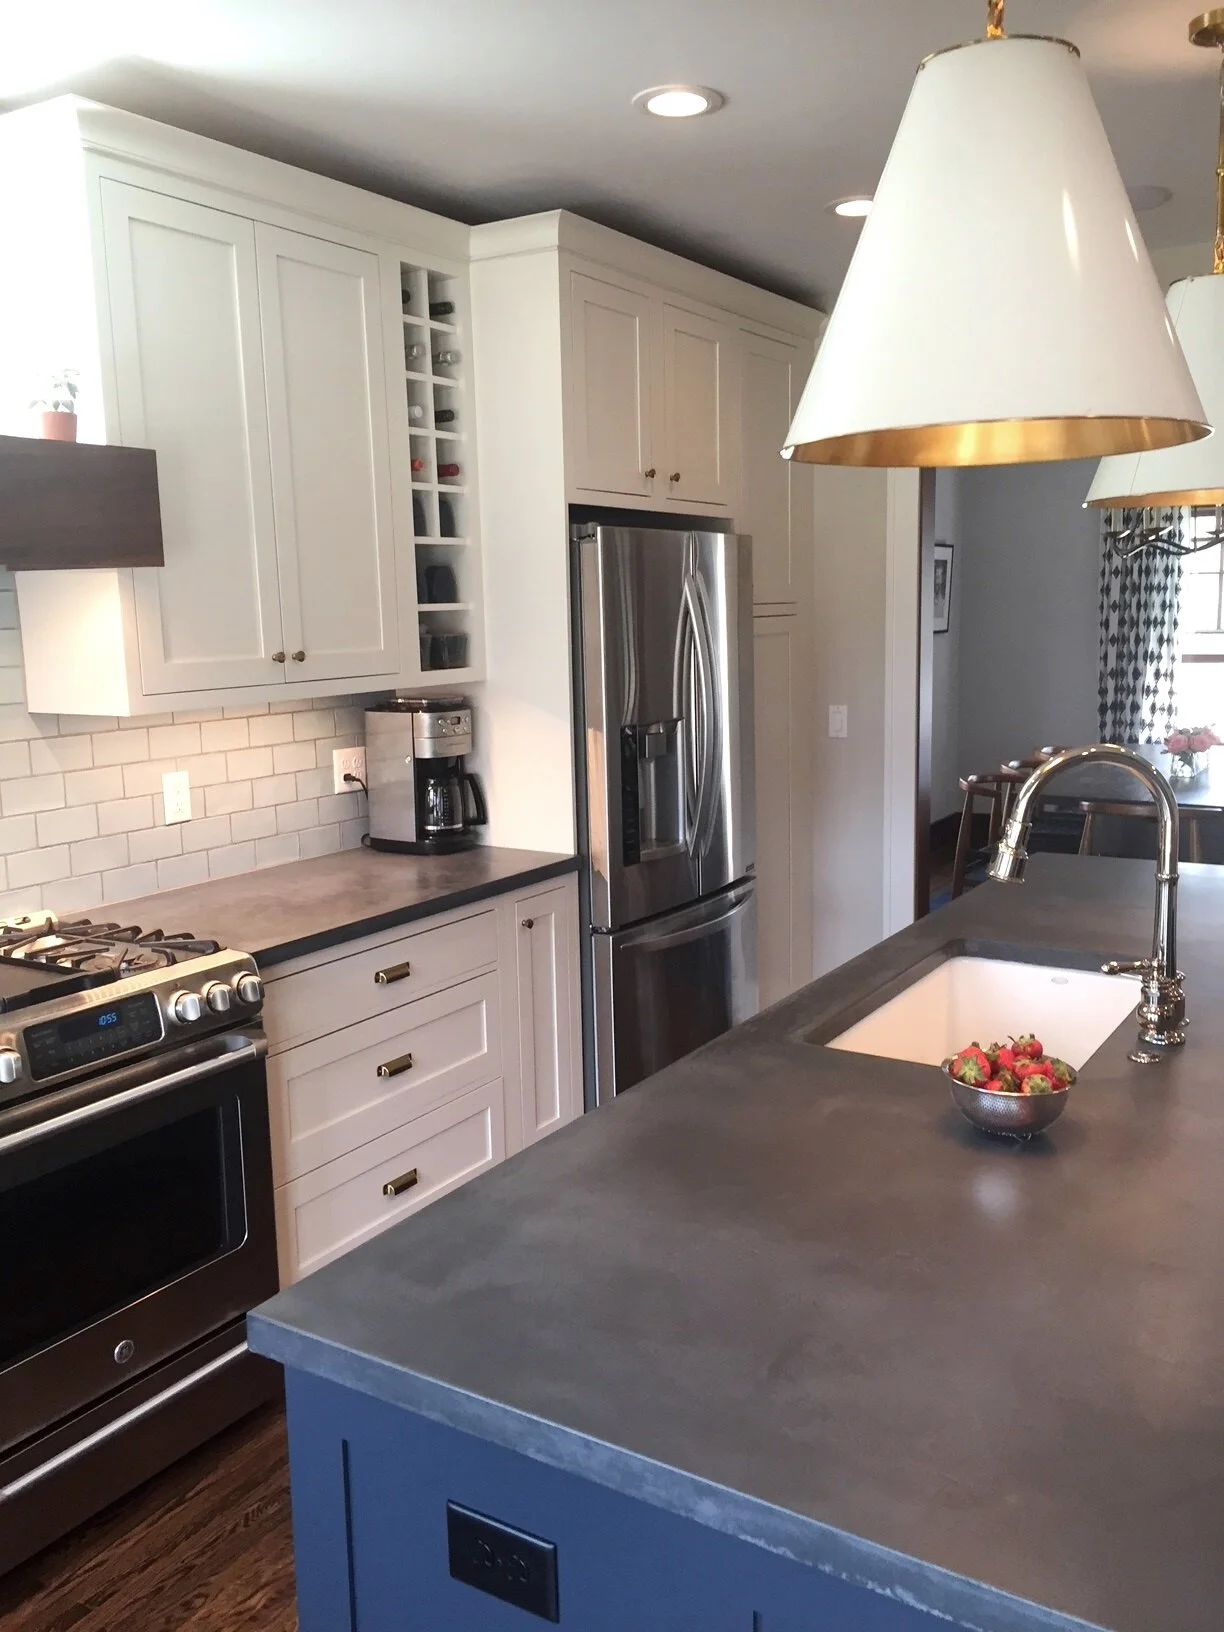
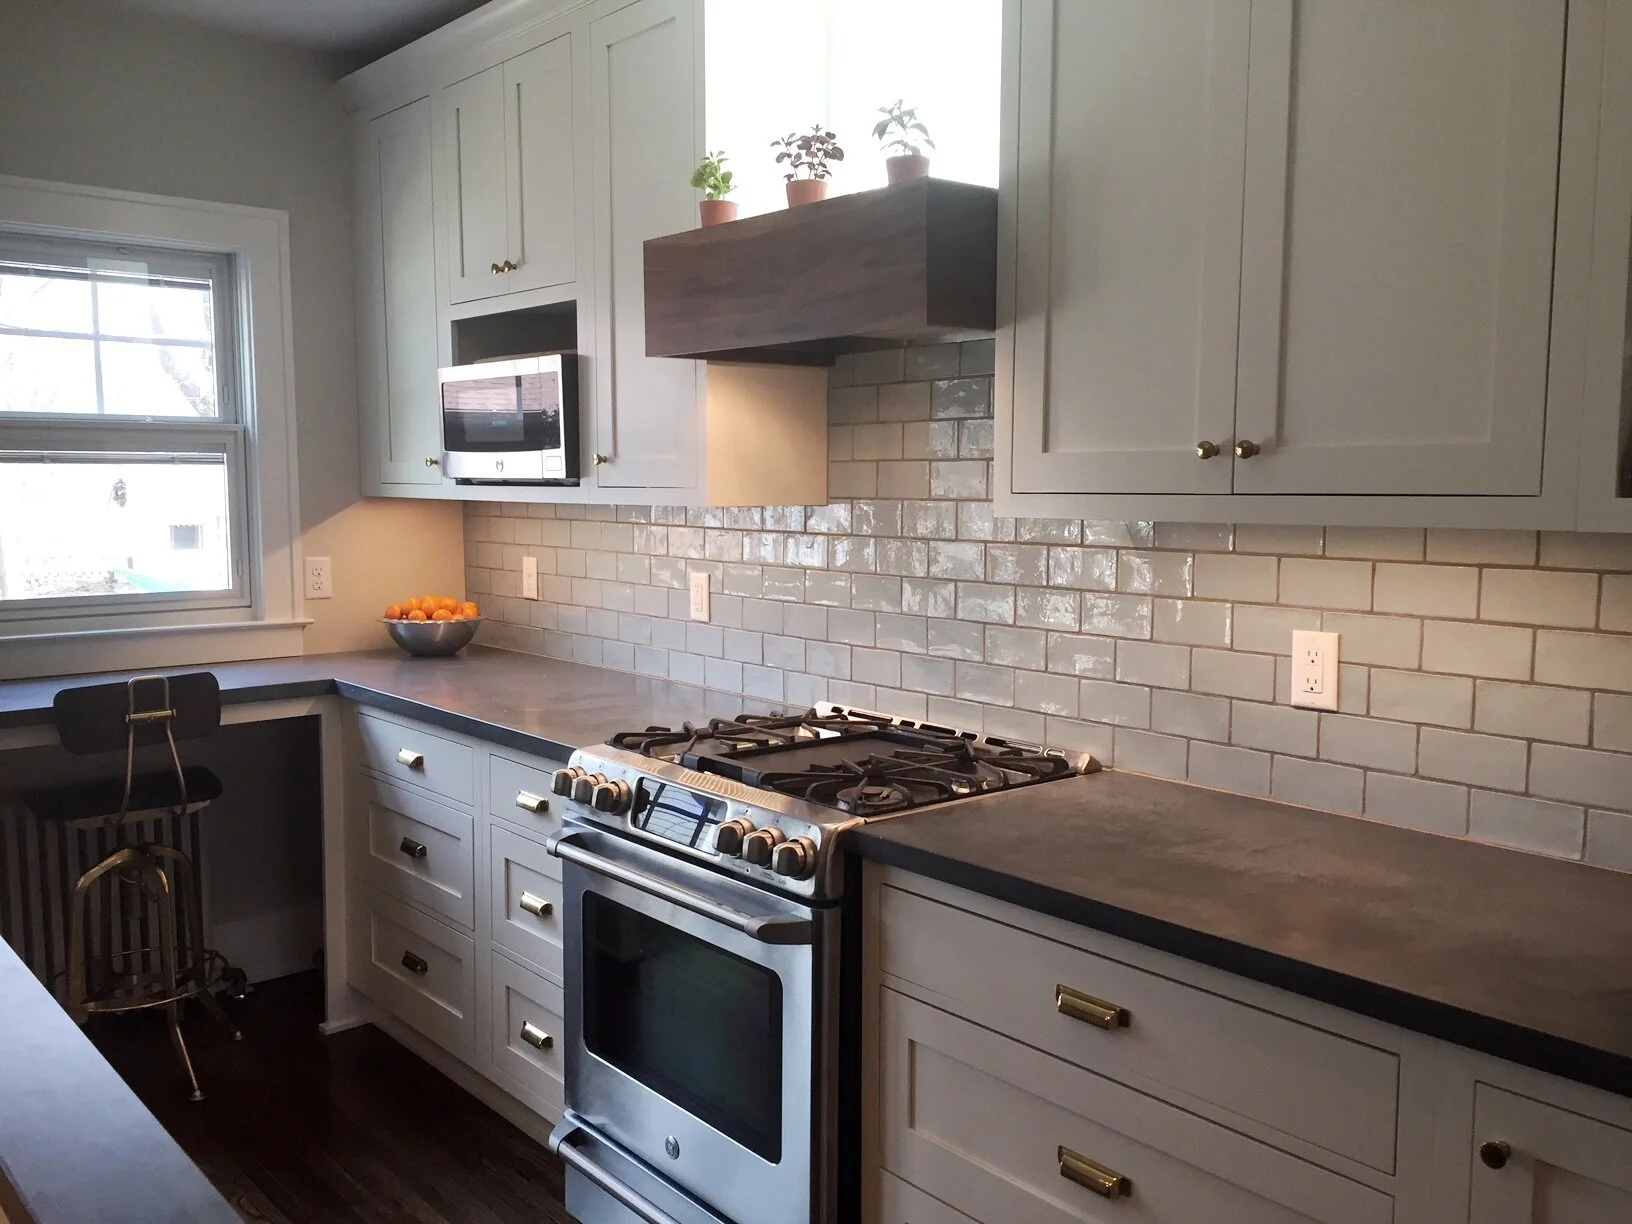
AFTER PHOTOS
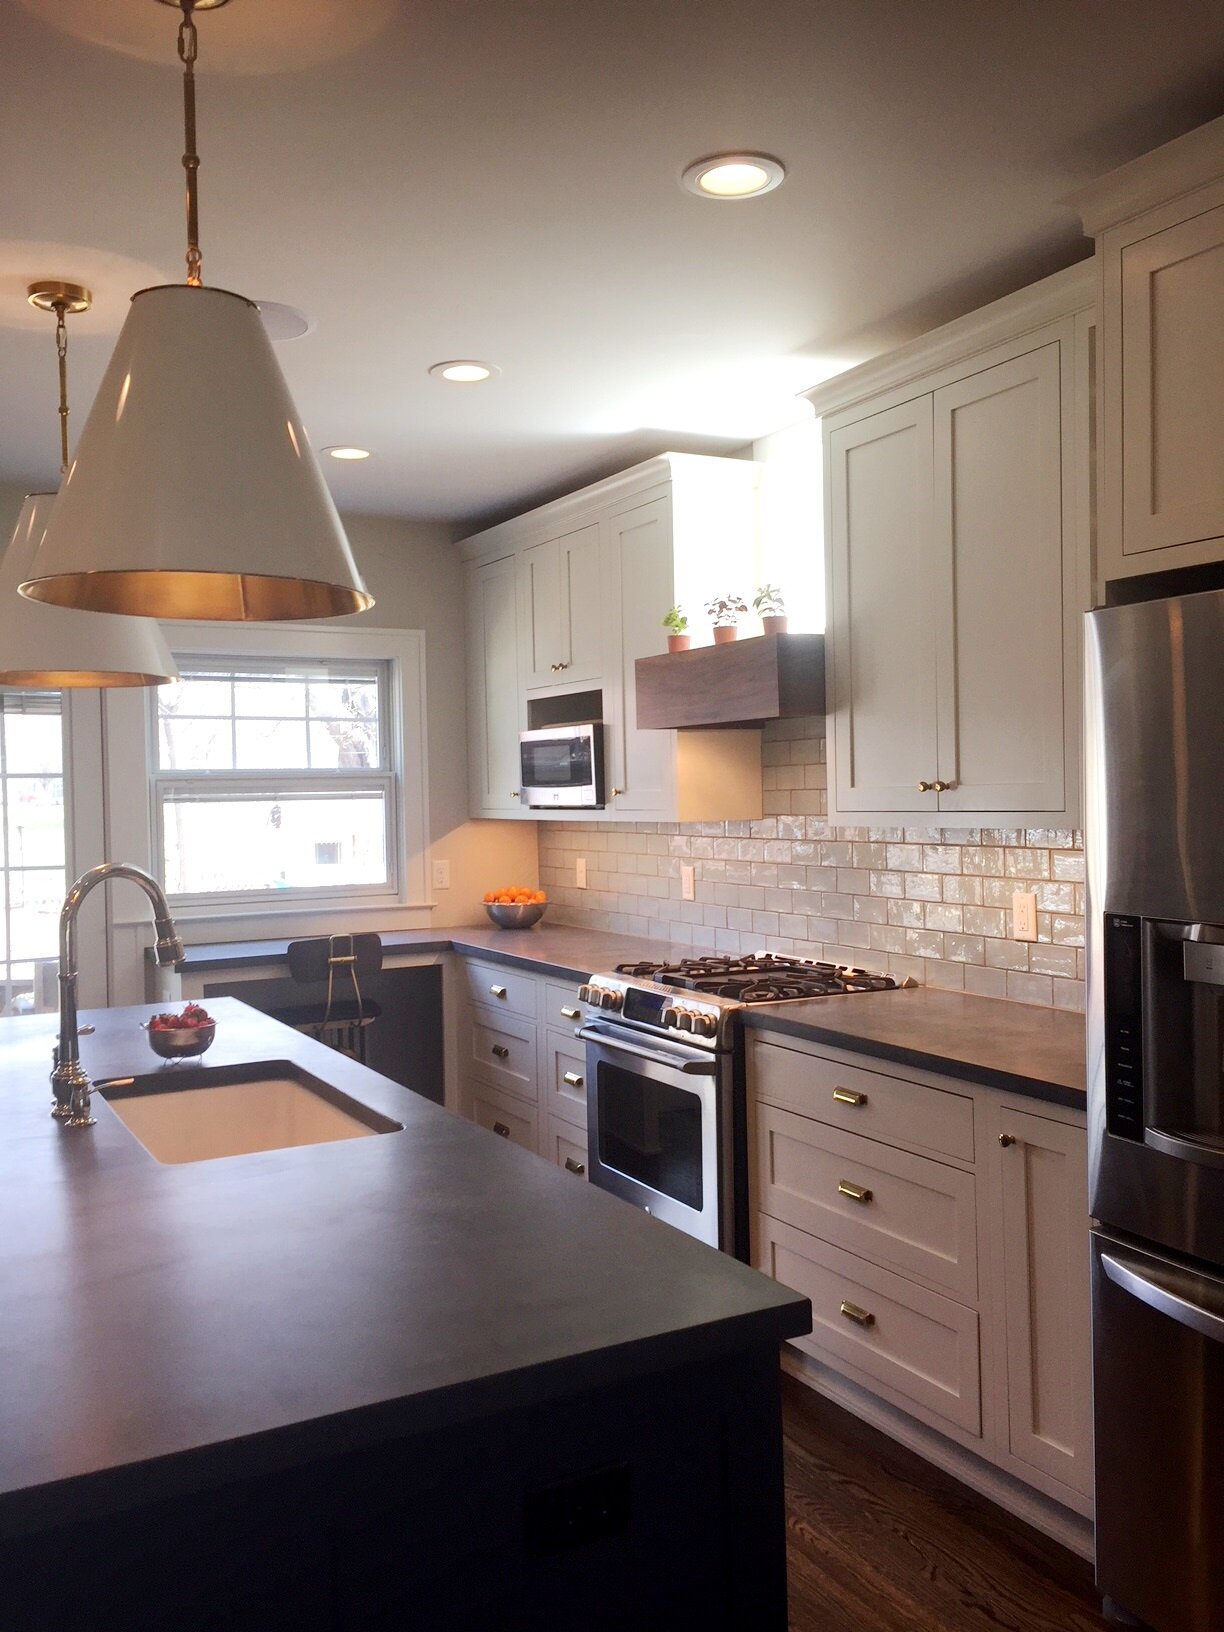
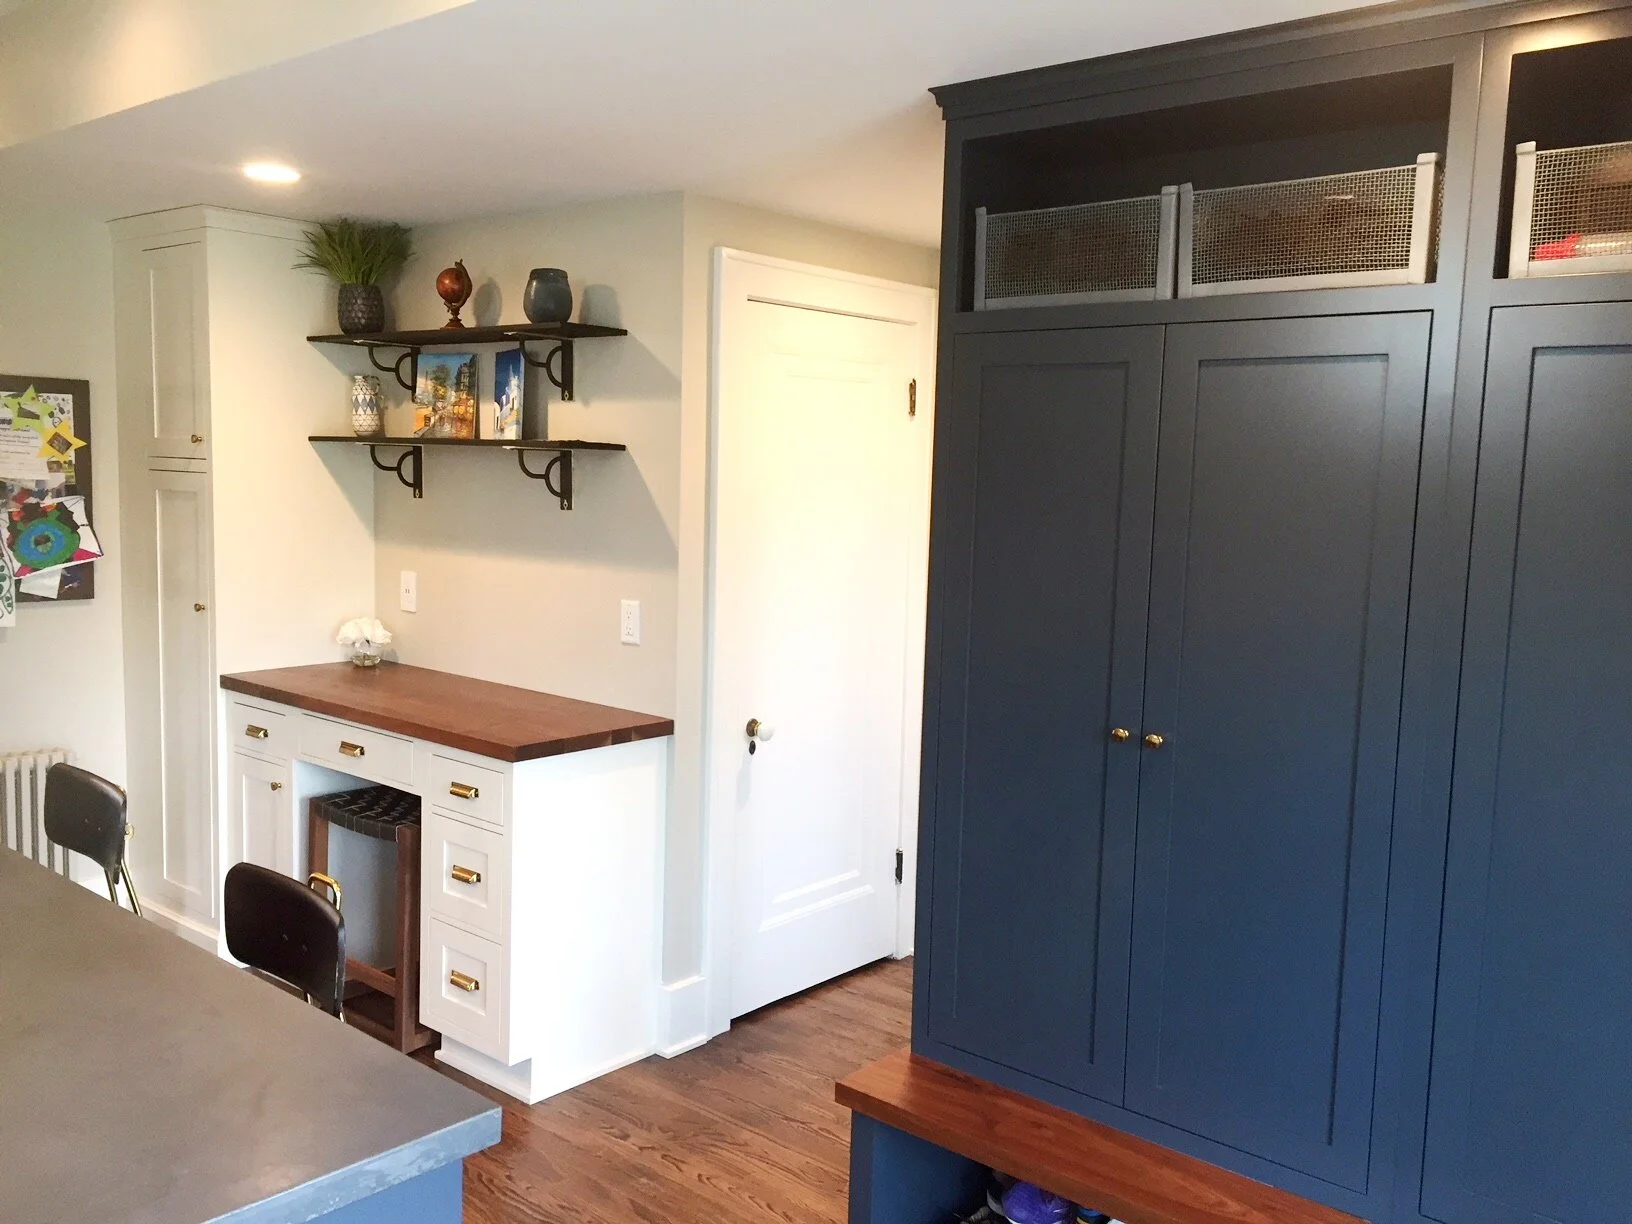
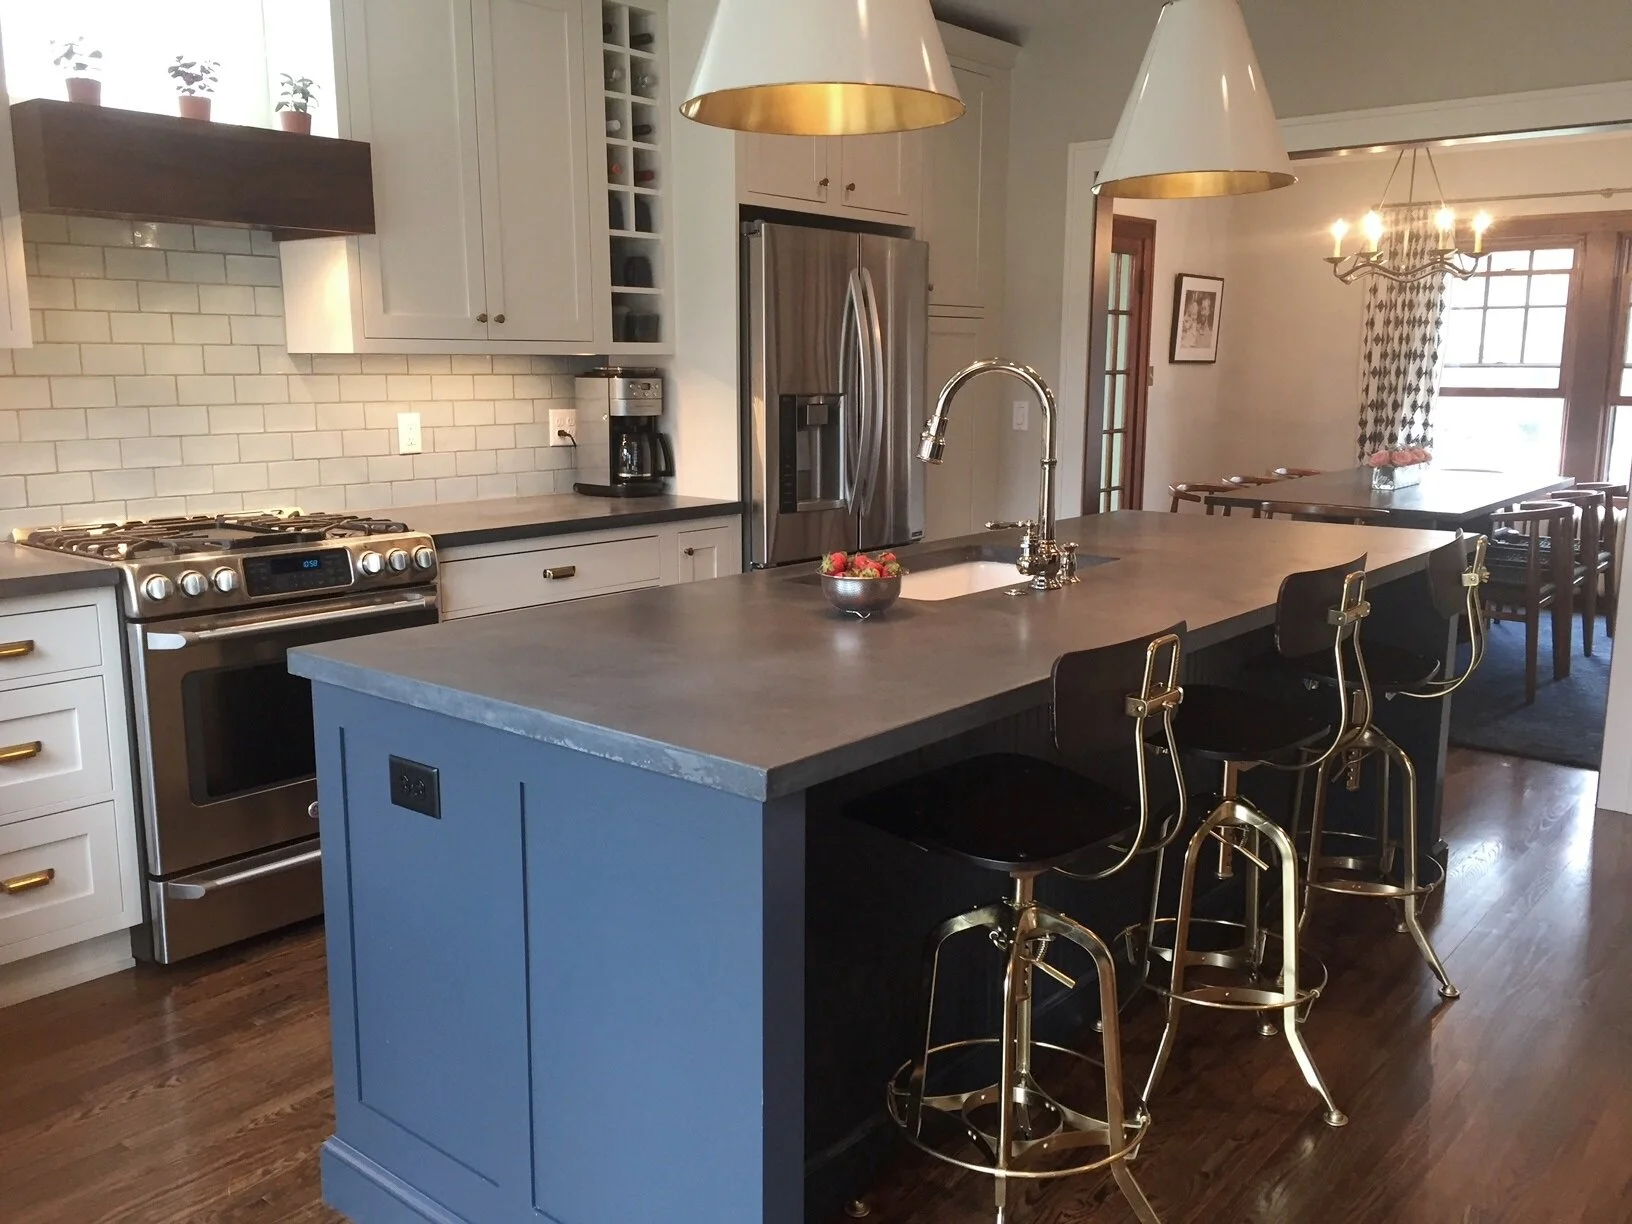
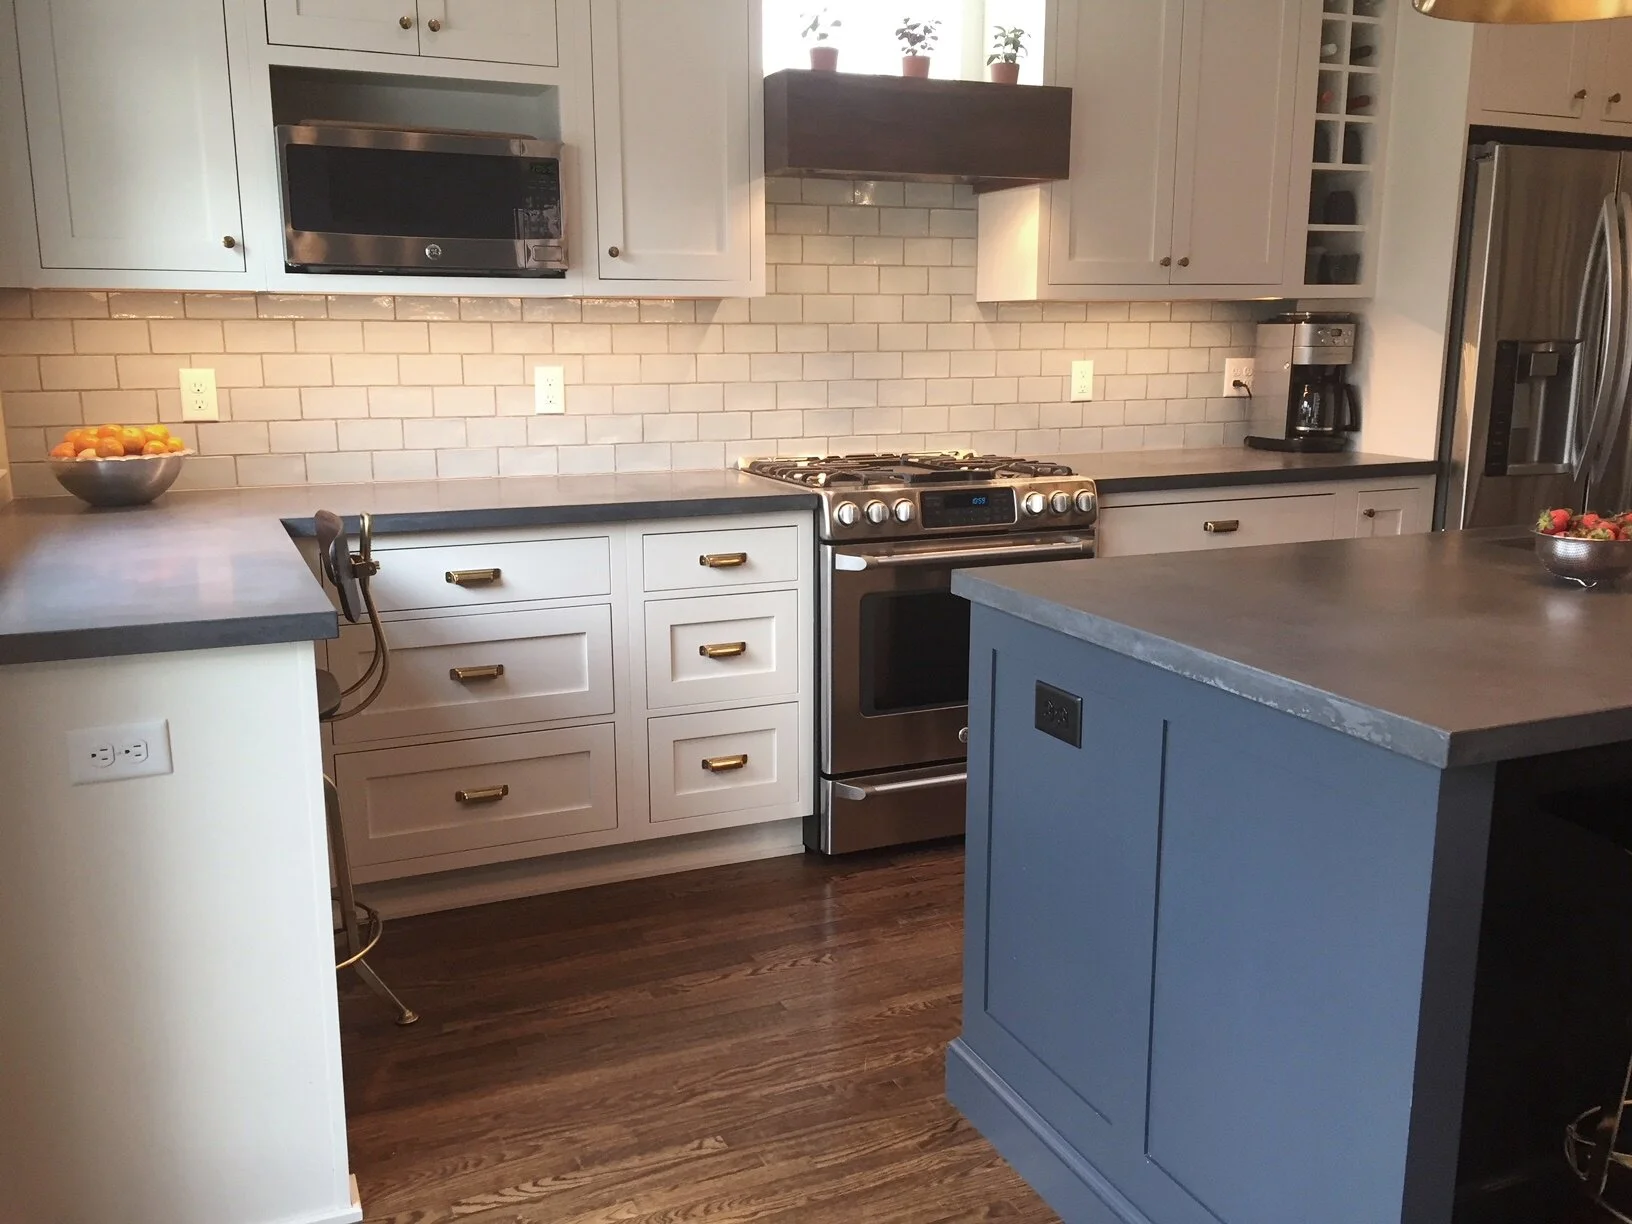
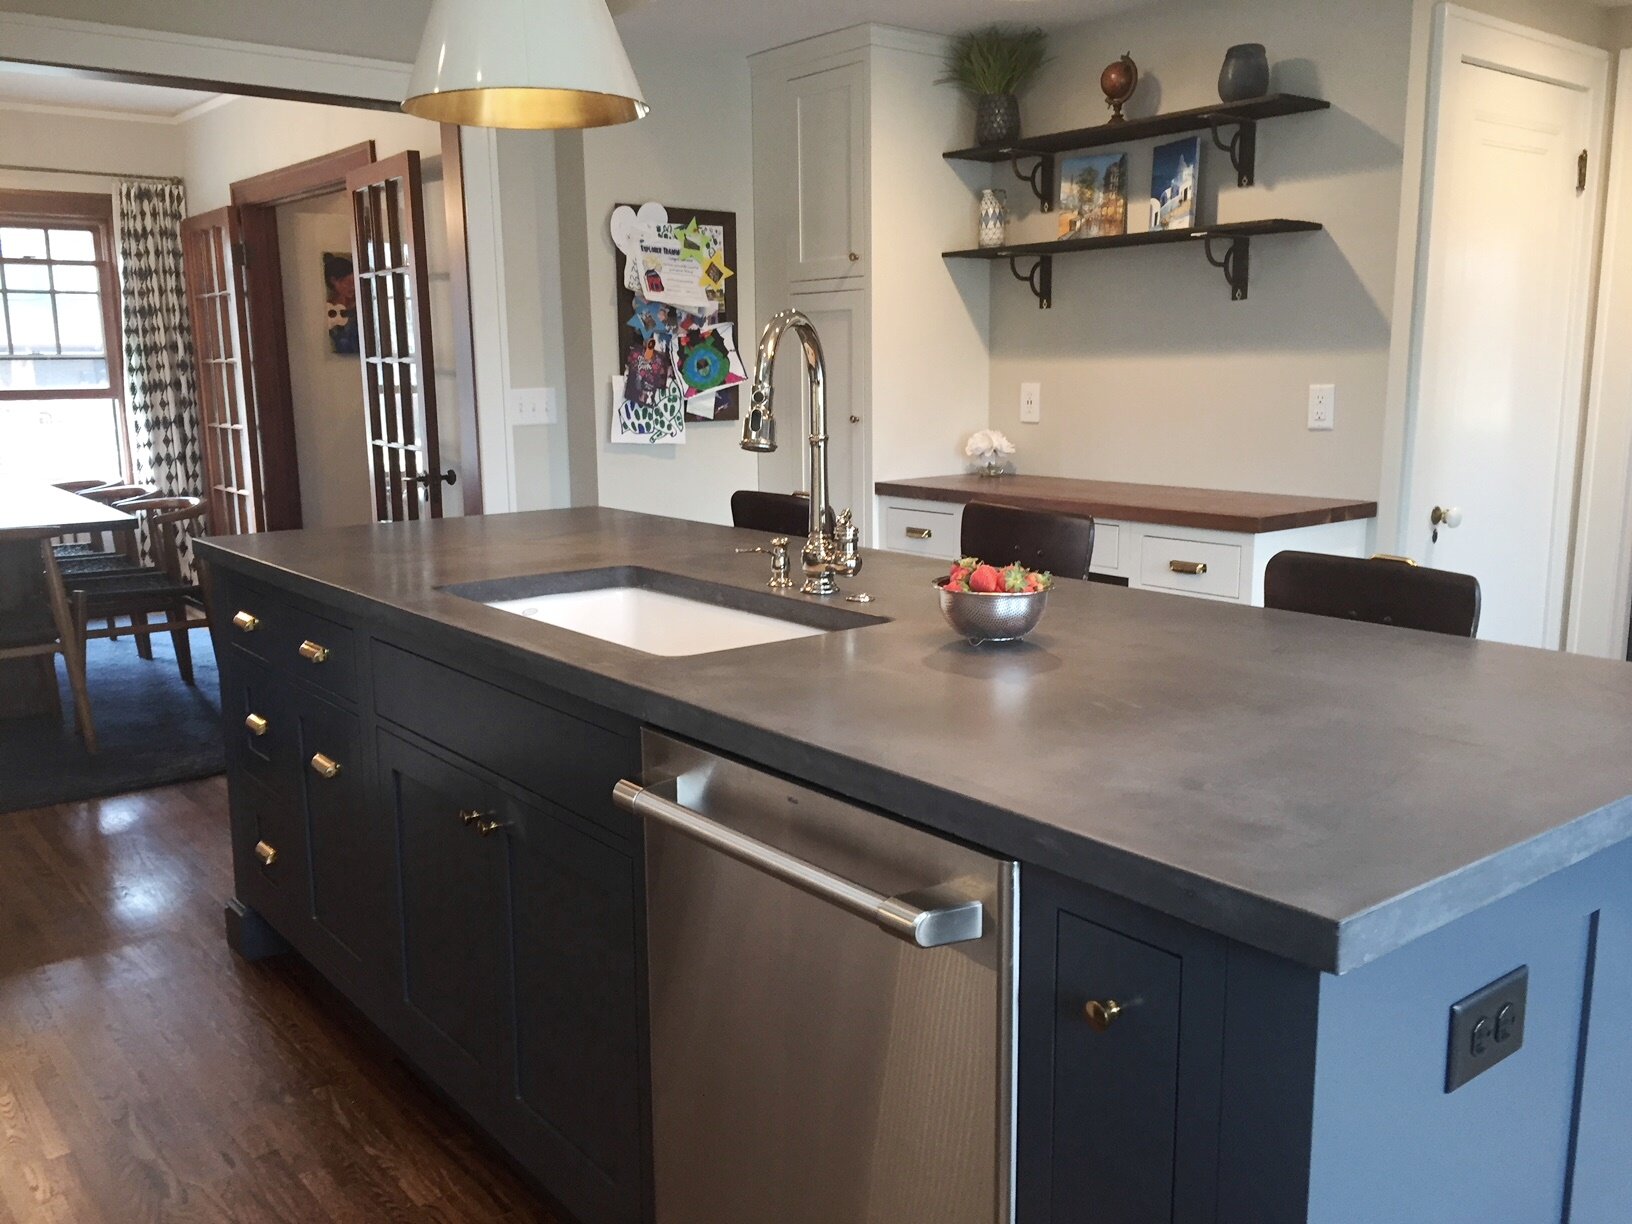
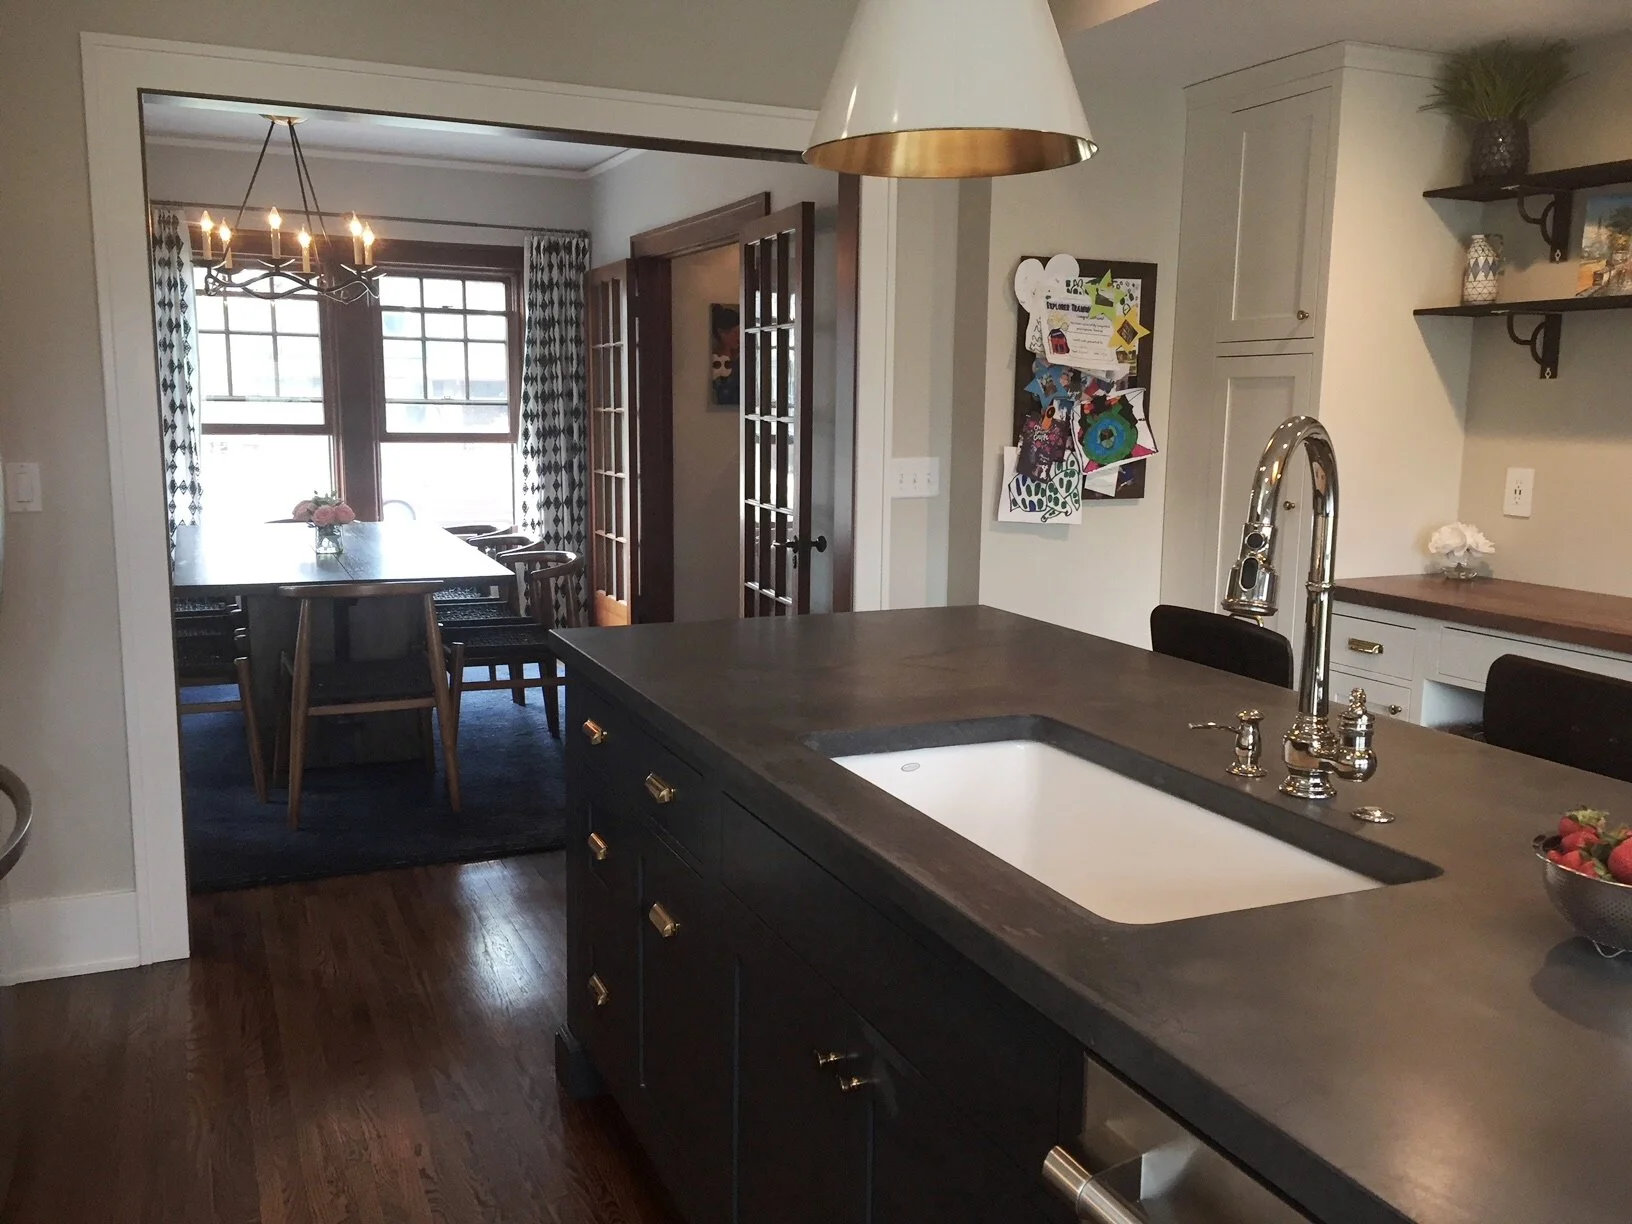
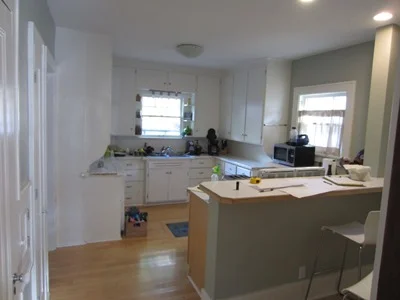
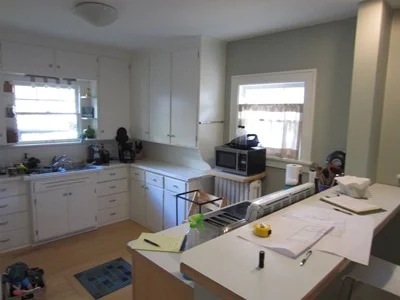
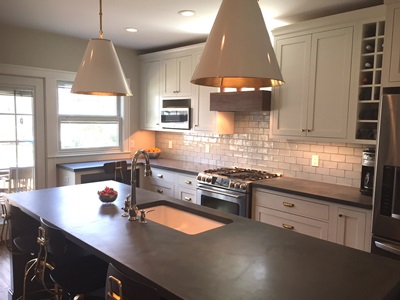
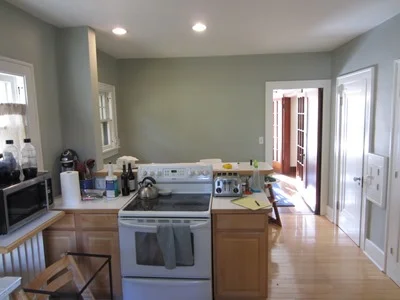
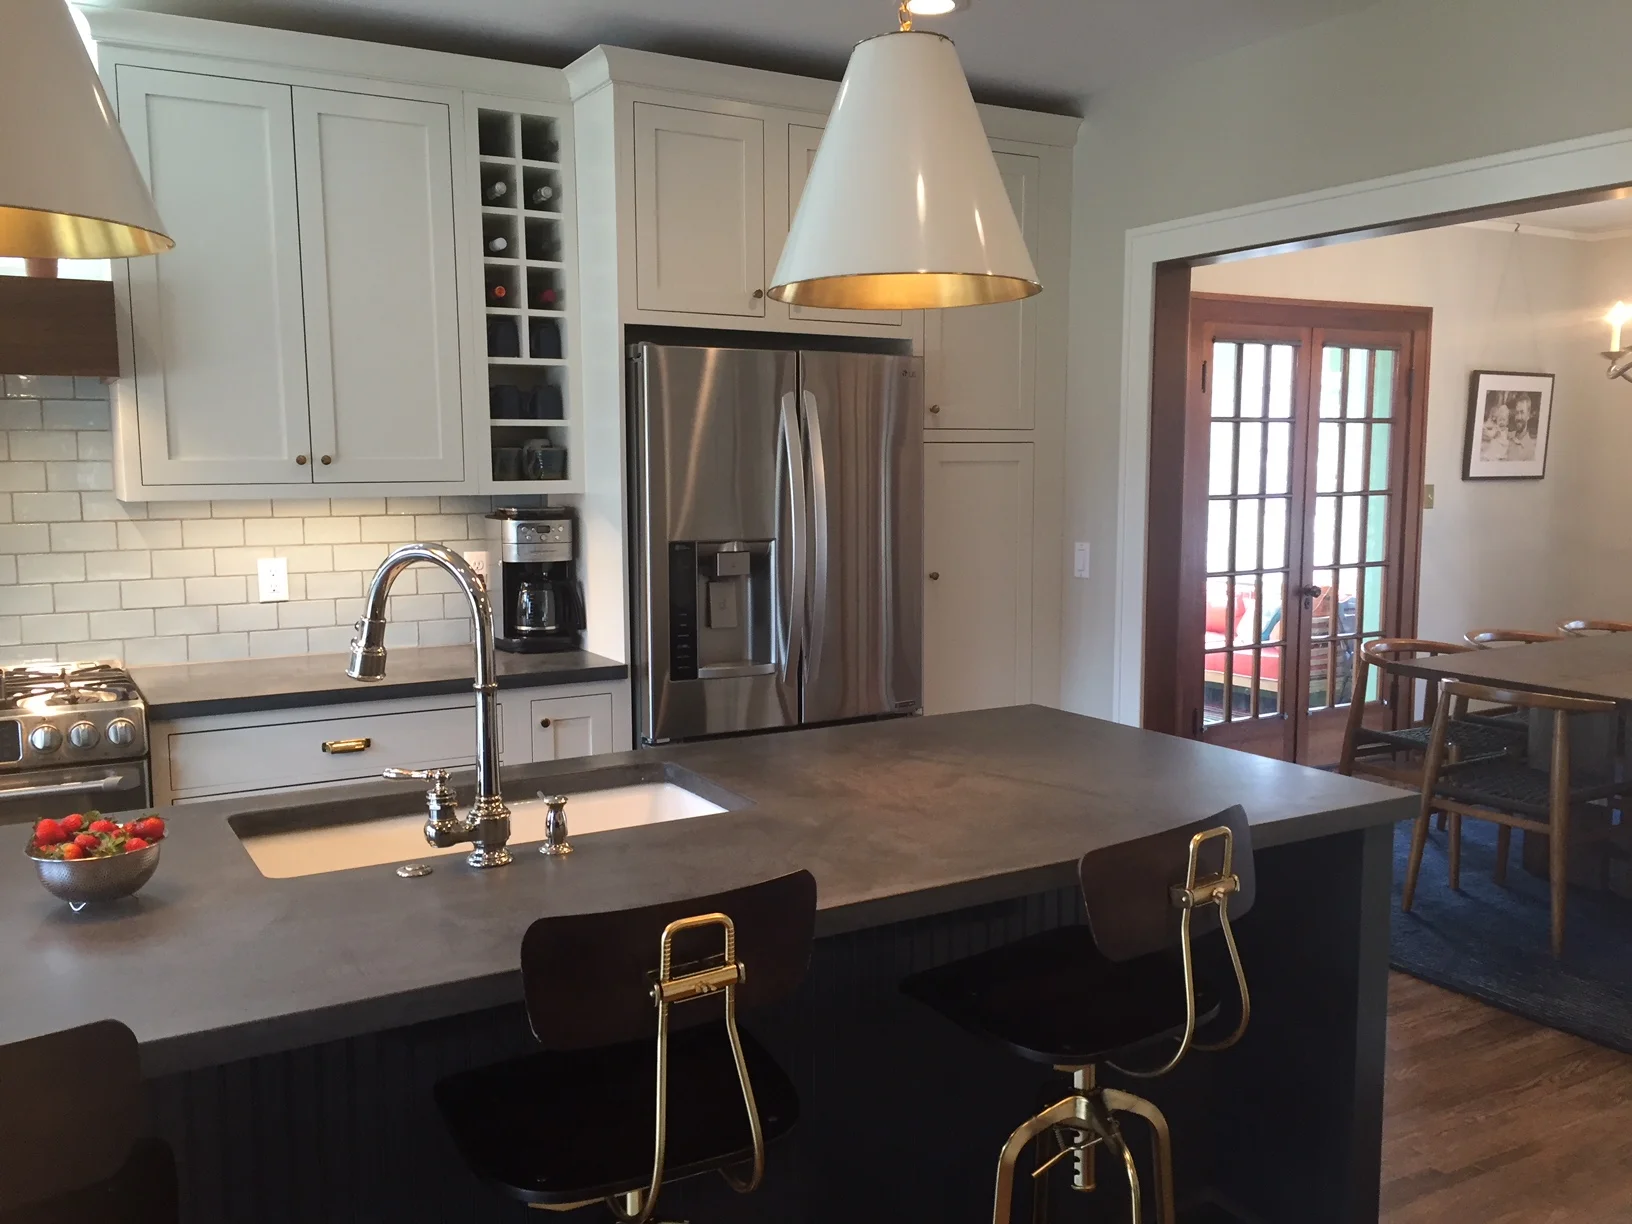
Our clients in the Burns Park neighborhood of Ann Arbor love their home but the tight kitchen and entry way are cramping their style... This renovation will enlarge their space into an open and inviting area that their growing family can love.
July 18, 2017
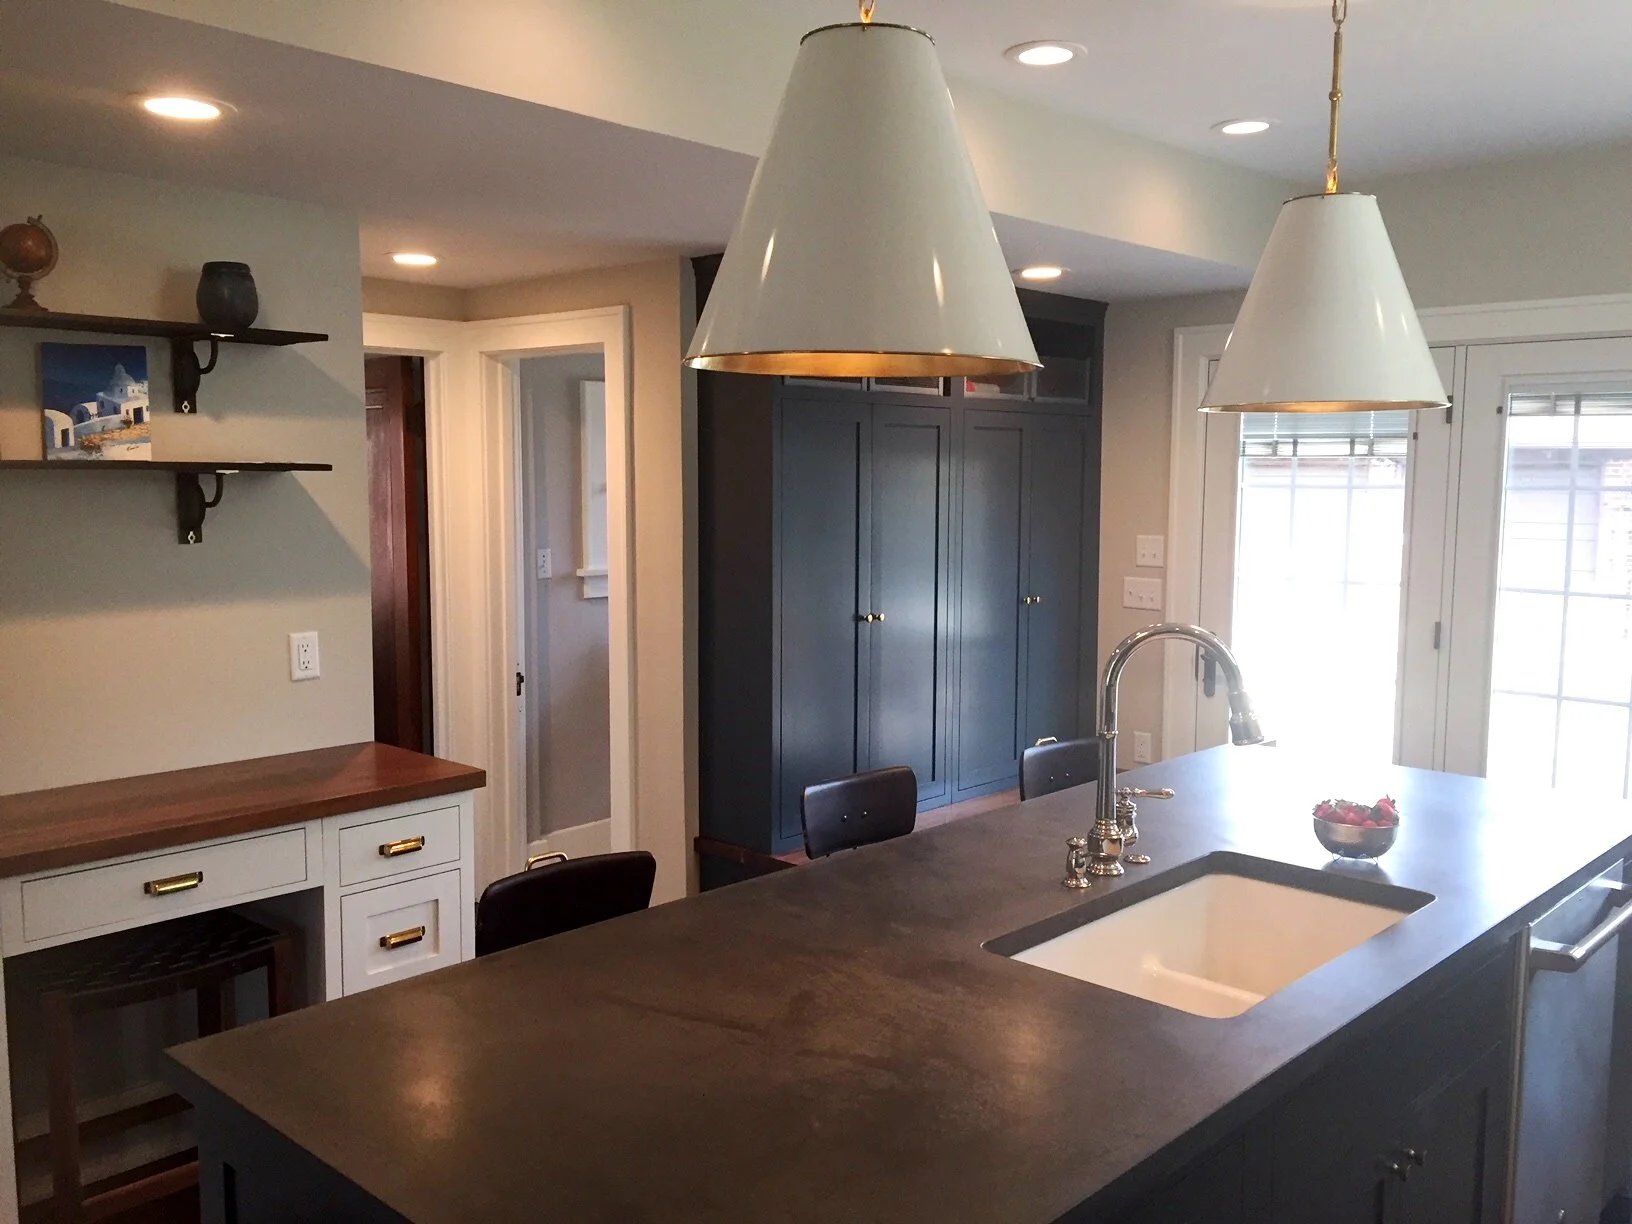
This drawing shows the new layout for the Kitchen. A big island is planned, with seating for the family.
Some color renderings help visualize the final product before construction begins.
July 21, 2017
Our crew is on site, but there is always some prep work that has to happen. Our electrician is going to relocate the main electrical feed and replace the panel inside.
Careful and selective demolition is underway.
The machinery is on-site and ready to dig.
July 25, 2017
The new electrical service will be buried.
It works its way from the utility pole at the rear property line, between the garages,
…and through the backyard.
July 27, 2017
The old kitchen cabinets are being removed.
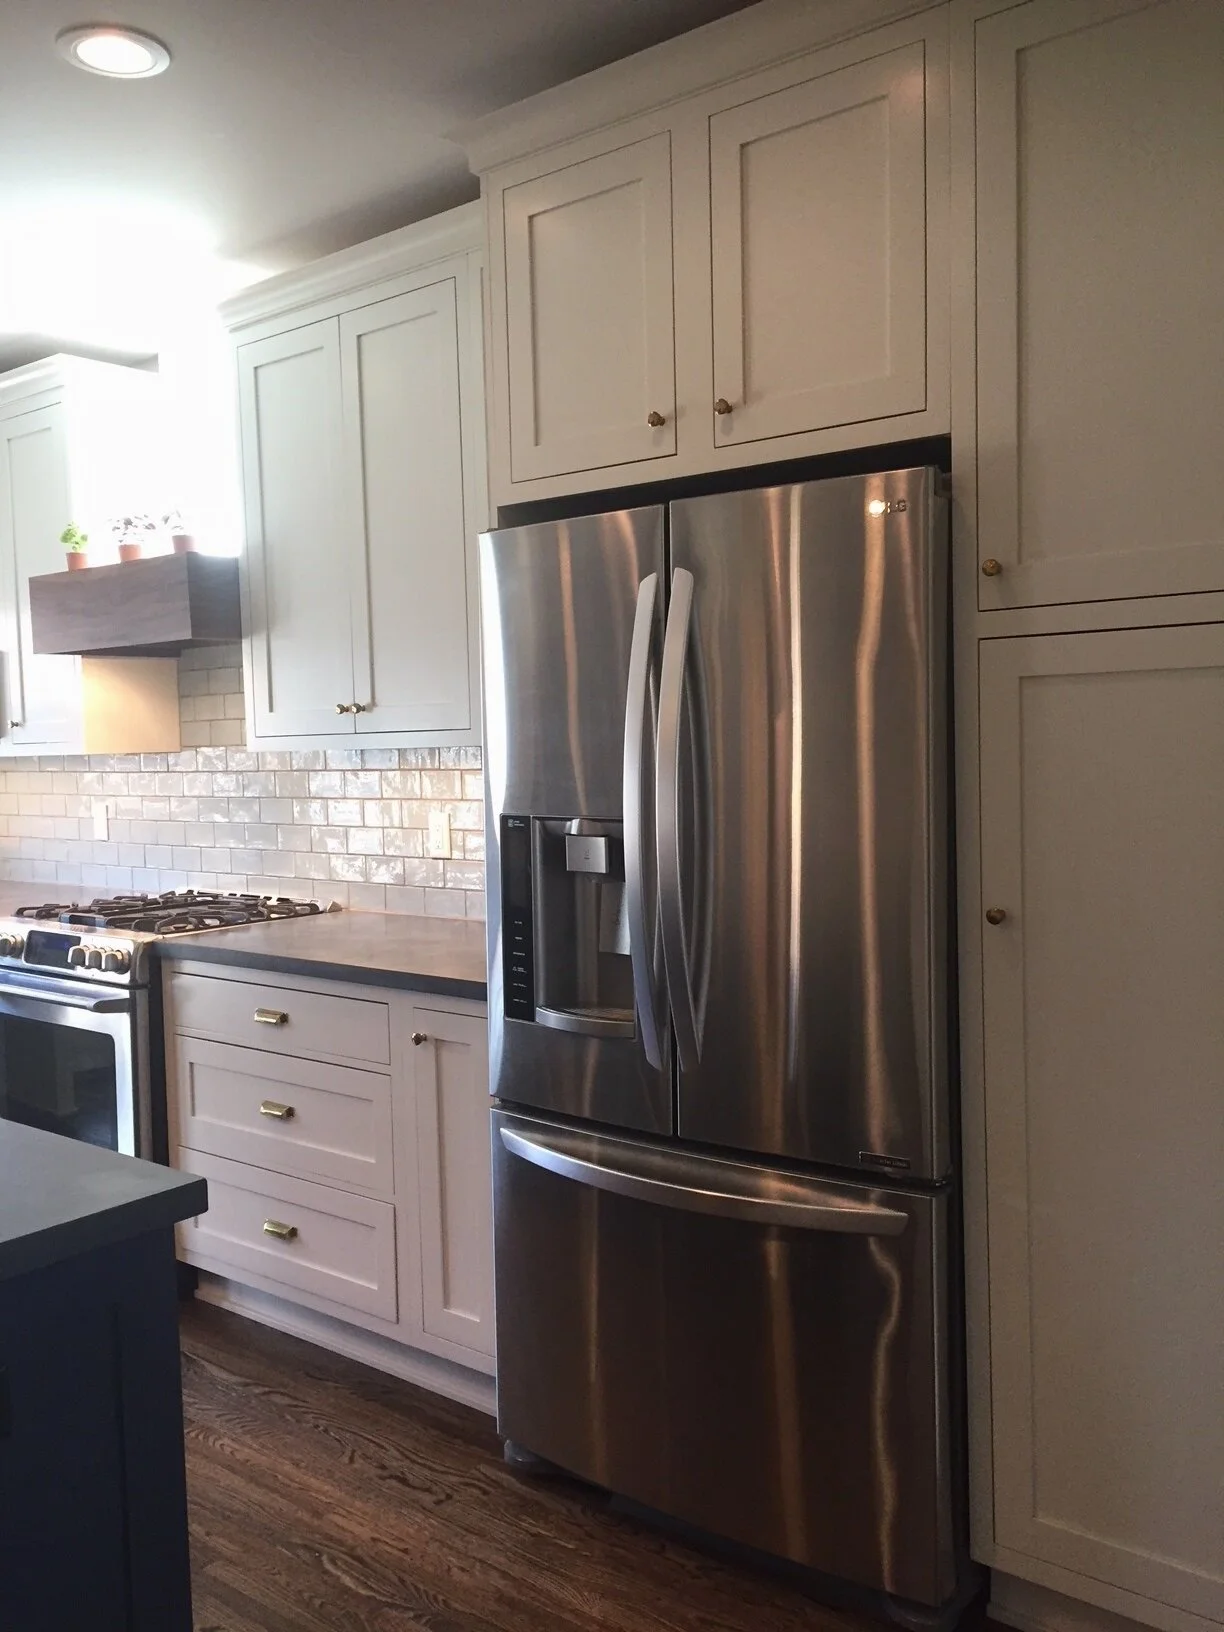
The refrigerator will be located within the space at the new kitchen, instead of at the rear entry.
Protecting the remainder of the house from dust is one of our biggest challenges. Here, a large opening is protected with plastic and a temporary door.
July 31, 2017
Demolition continues.
This photo shows the layers of flooring that have accumulated over the years. Glued down flooring is difficult to remove easily.
Zack takes on the grueling task.
He is carefully removing this decorative tile accent.
Hard work and perseverance have their rewards.
August 9, 2017
What is Zack up to now?
Mixing mortar.
He is filling in the basement window with concrete block.
August 14, 2017
Zack preps exterior wall framing for new window and door header.
Mike inspects the installed window and door header.
August 22, 2017
The steel beam has arrived and is ready to be lifted into place.
Now that the steel beam is in and can carry the floor loads above the new kitchen can be much larger.
August 30, 2017
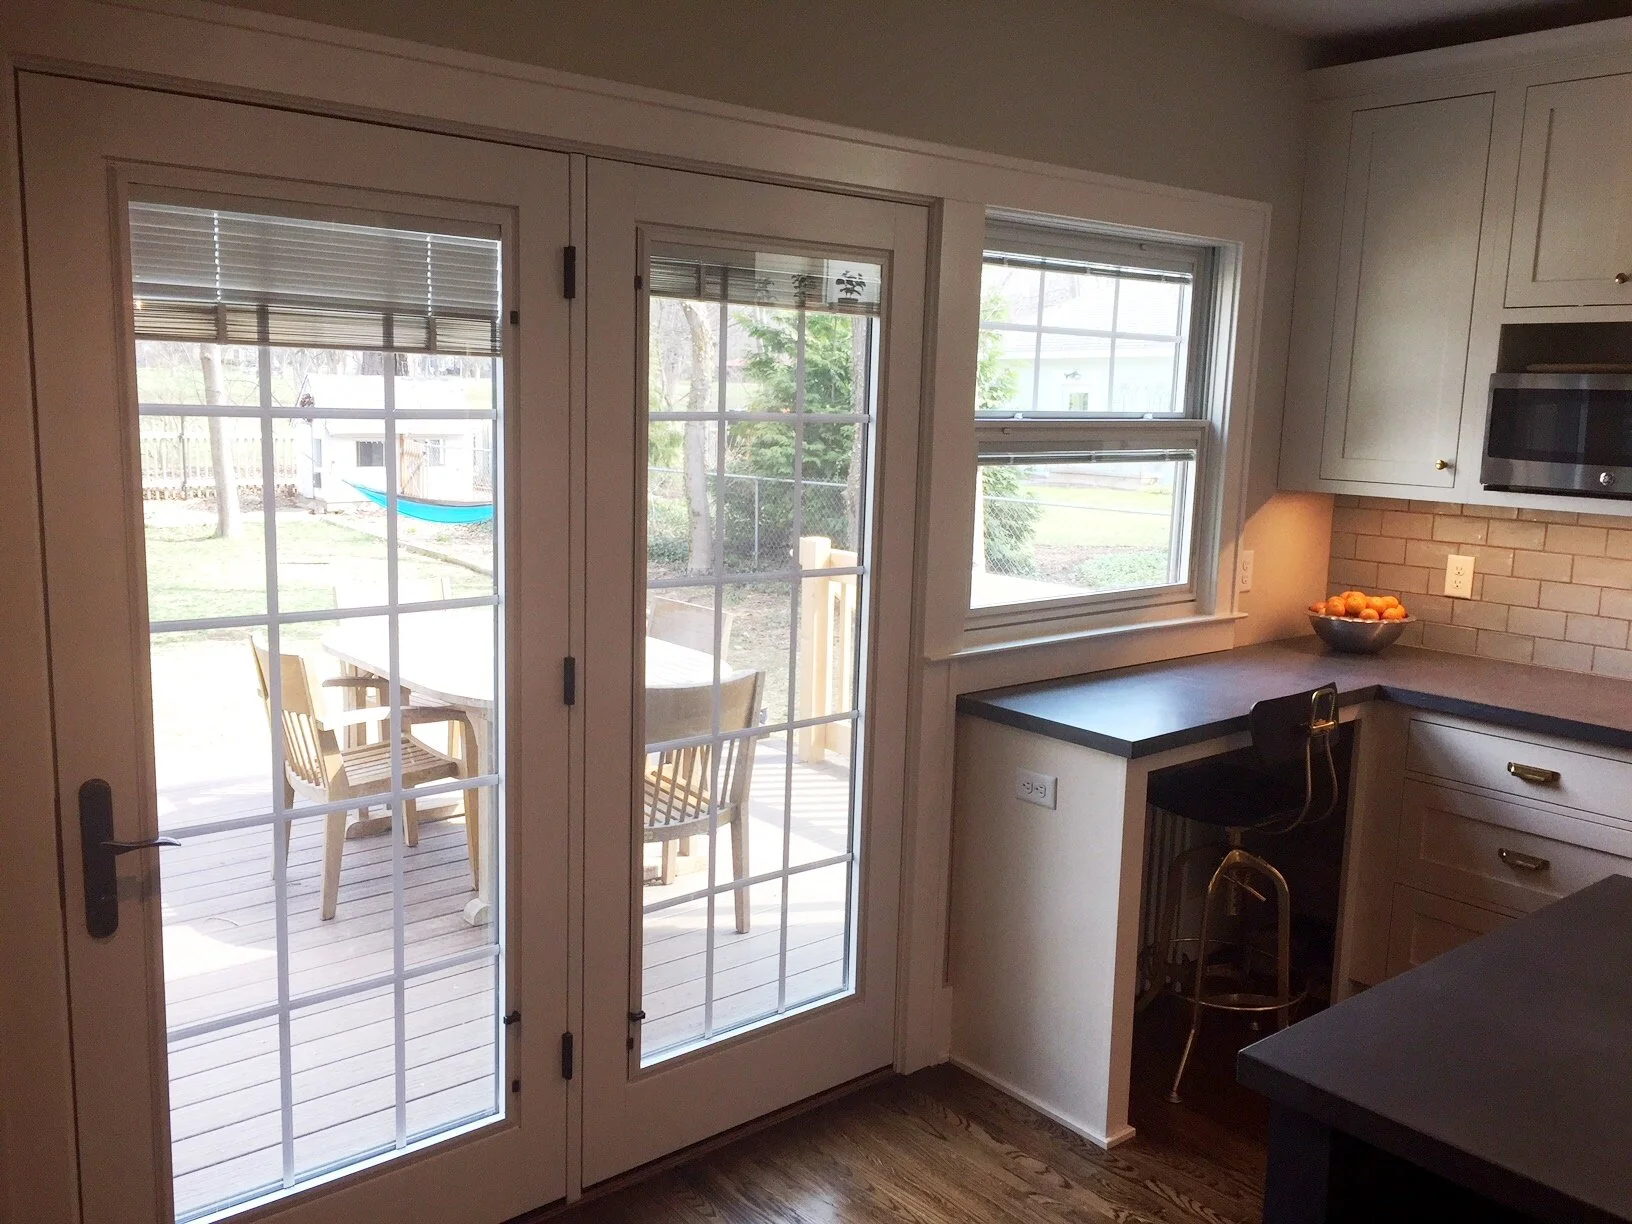
The old wood double hung windows are removed and new replacement windows are installed.
Rough electrical has begun.
Our lead carpenter Mike, builds a soffit around the beam and is spraying foam insulation at the ceiling. The Tyvek suit didn’t fit and he improvises with a black plastic garbage bag.
The insulation is dry and shaved off for a flush finish. Furring at the ceiling helps create an even surface in an old home.
September 7, 2017
Drywall happened fast! Taped, mudded, and sanded. This is a view from the Kitchen to the front of the house.
This is a view from the front toward to the Kitchen. Our painter has put on a first coat, and new oak flooring will be toothed into the existing for a seamless finish.
September 14, 2017
A new structural post, called a PSL (parallel strand lumber) post, transfers weight from above to a new footing in the basement.
A stone cap is placed on the low height brick wall. Siding will finish the wall above.
Stone sills are replaced at the windows, to match.
New footings are dug and poured with concrete for the deck.
September 20, 2017
The oak floors are sanded, stained and finished.
Our carpenters use this time, and some nice fall weather, to begin work on the deck.
They set girder beams on the concrete footings
and the joist are framed on top.
September 27, 2017
yippee... cabinets are in :-)
October 5, 2017
A stucco finish will go on the wall above the brick.
This ‘fixed’ window is above the range hood, meaning it does not open.
It’s great to have t-shirt weather in October.
October 12, 2017
hmmm... ok, I give up...
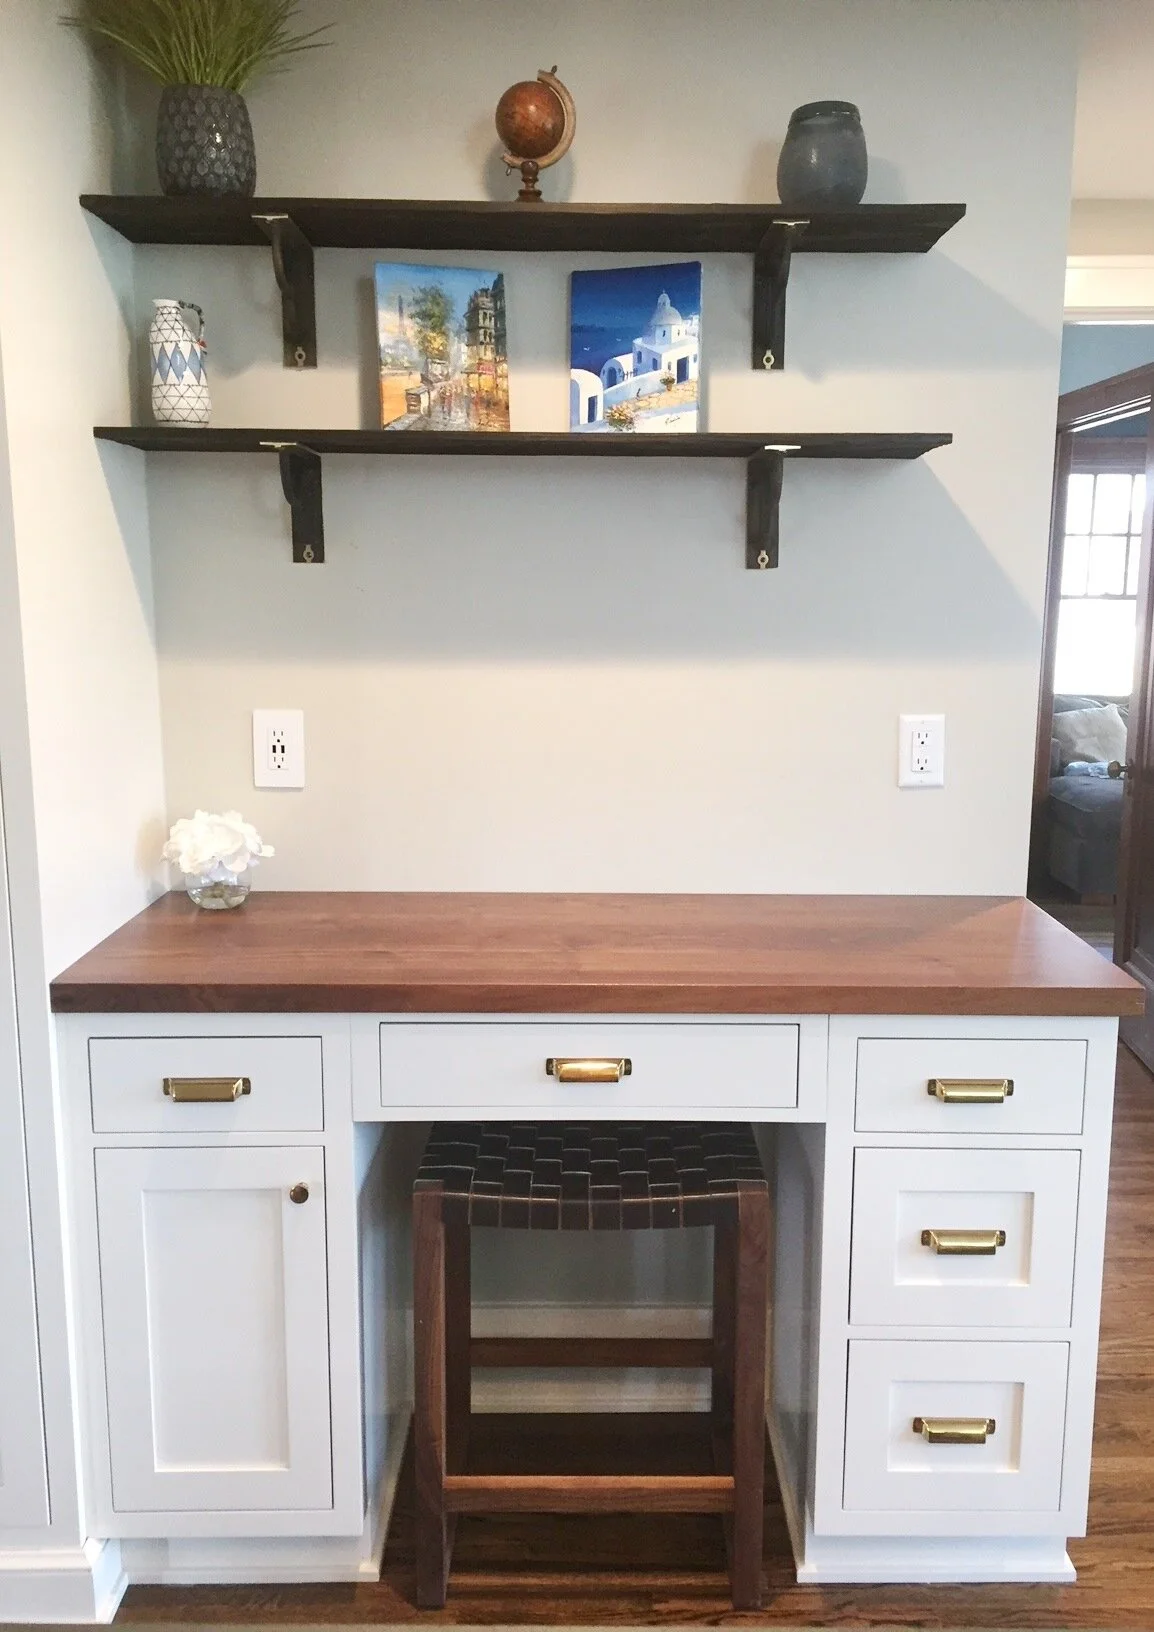
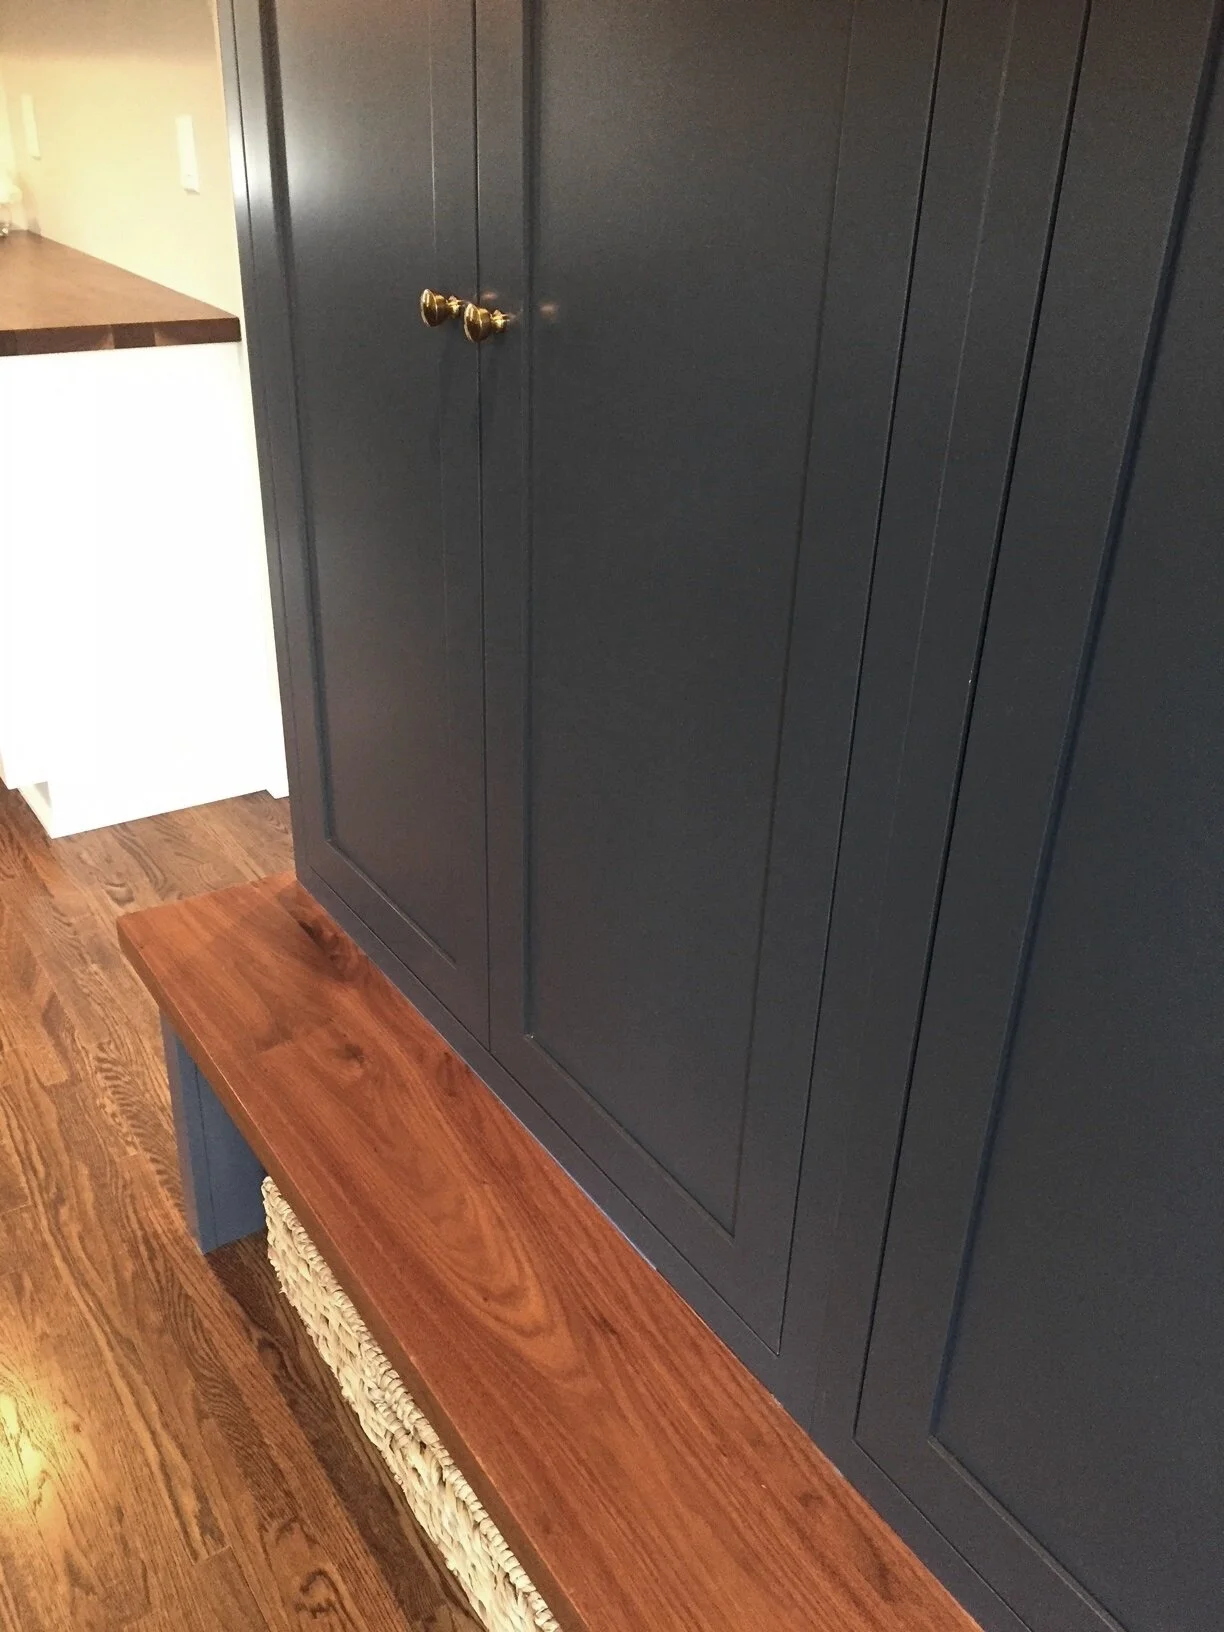
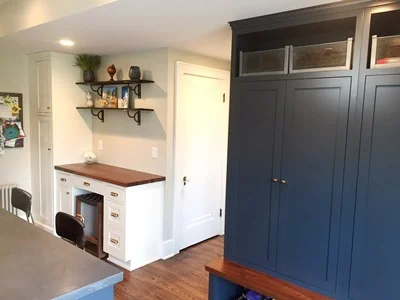
A mix of dark and light painted cabinets are being installed.
The radiator is incorporated into the design.
A sconce light is mounted on the stucco exterior wall.
This is a fun stage of the project, when all the components are coming together, and rooms begin taking shape.
October 18, 2017
Time to move on to the deck...
October 25, 2017
Things are moving fast now,
getting ready for the Halloween party next week
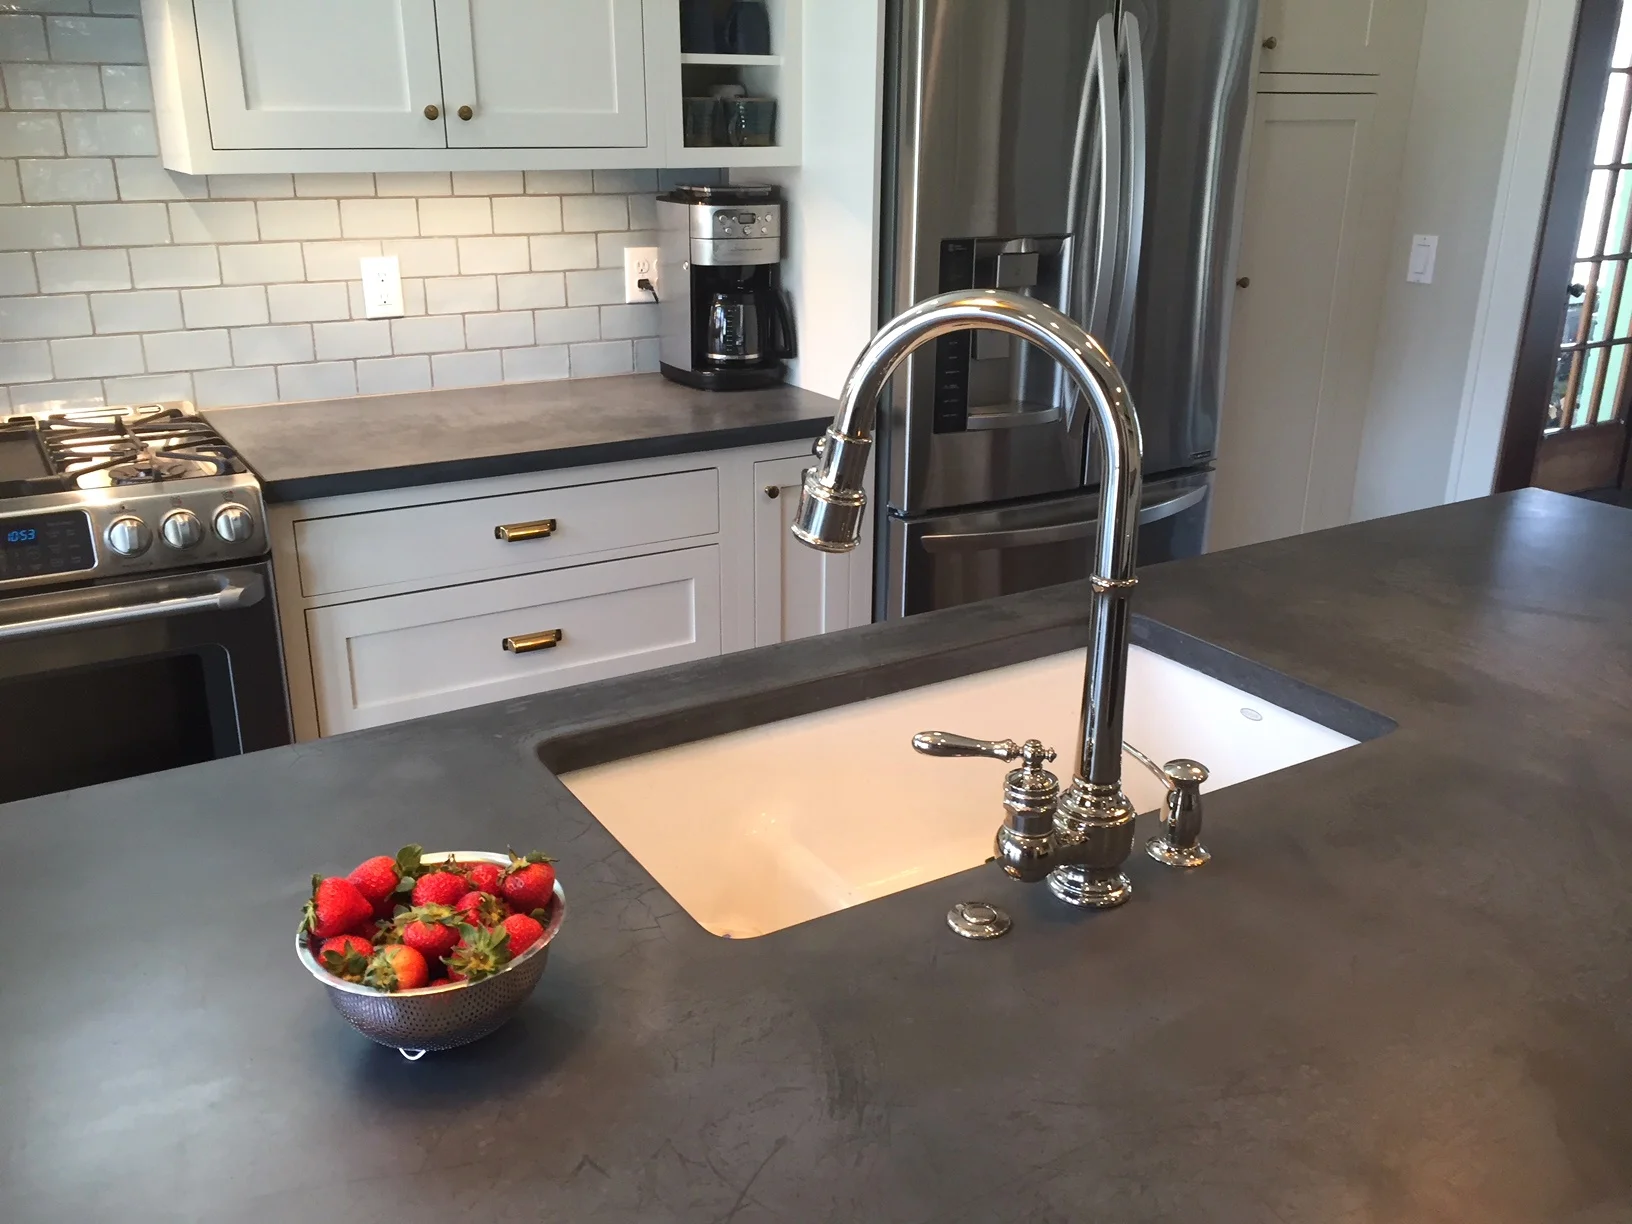
Kitchen sink is in
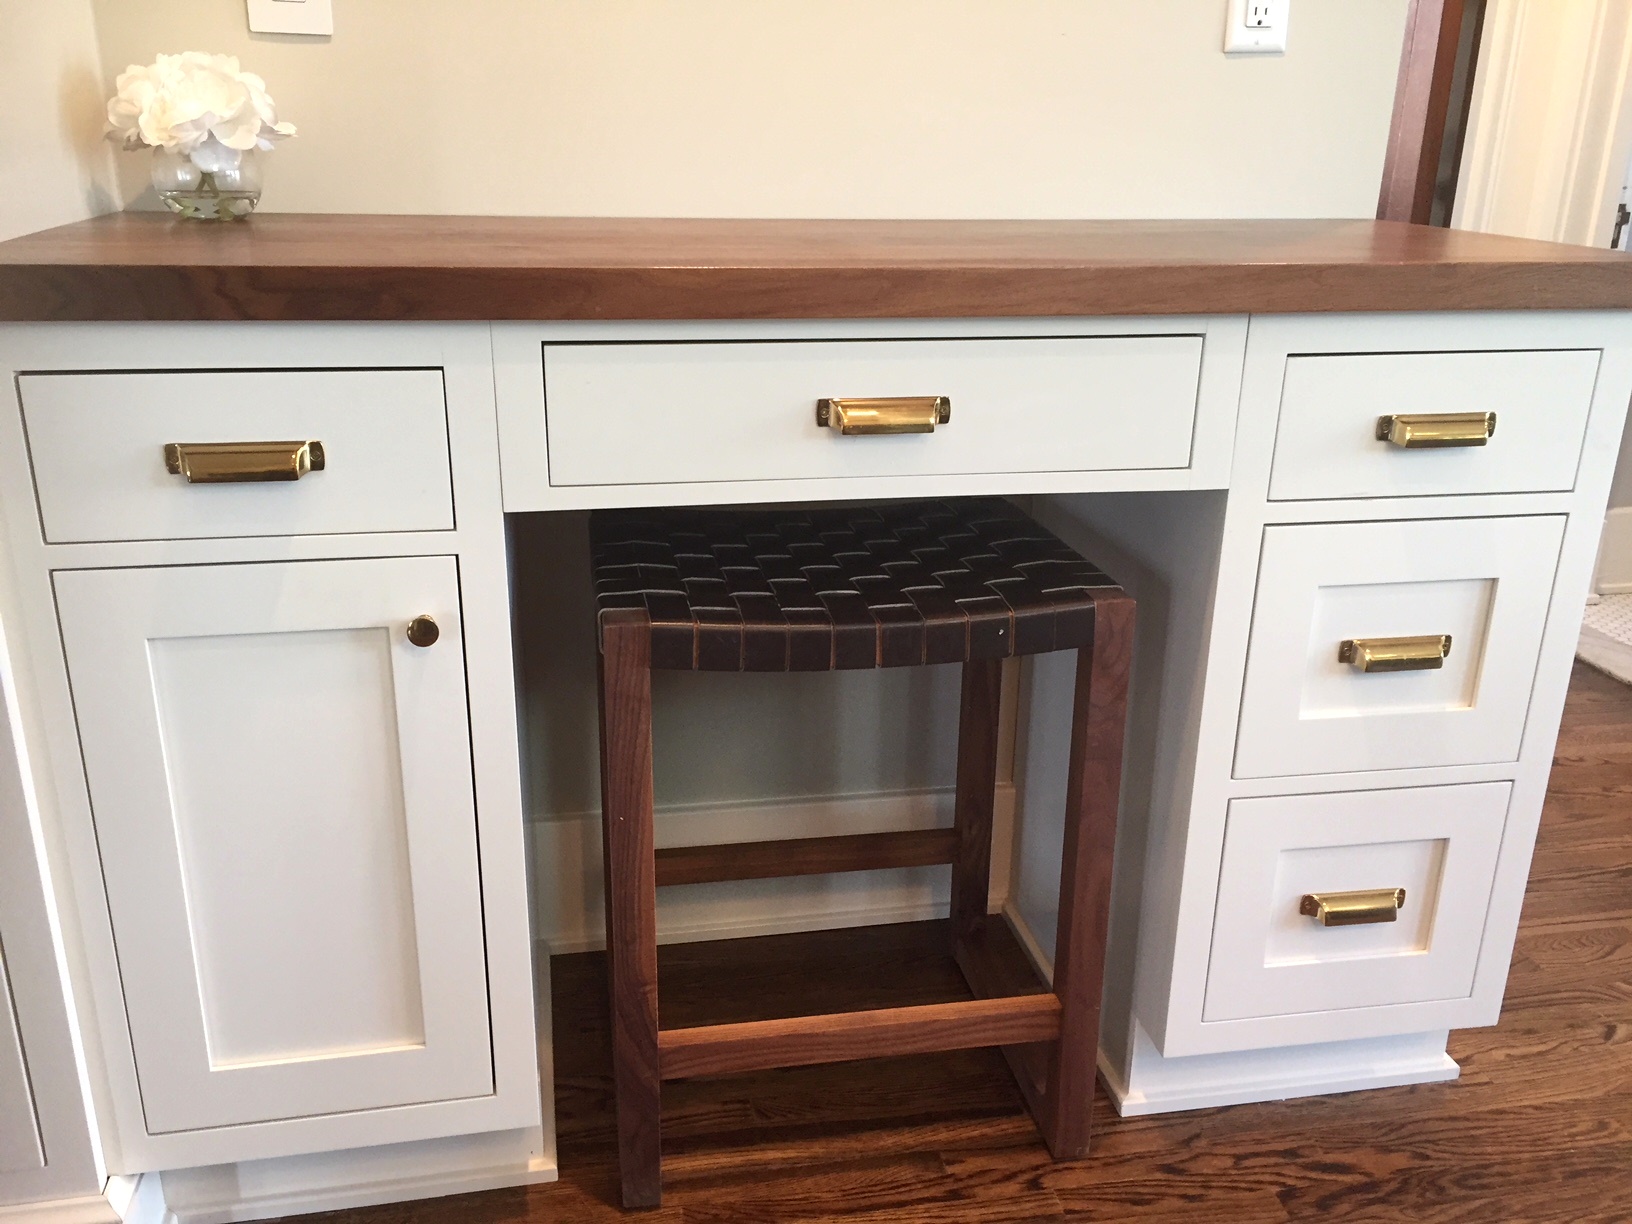
Gorgeous countertops in concrete
and wood... in!
November 1, 2017
It is a good day when your project holds up to the scrutiny
of 1200+ Trick-or-Treaters… and we don’t just mean our sign...
#HalloweenOnGranger #A2Halloween
Back to work morning after :-)
George from Tandem Tile is installing the backsplash in the kitchen.
The beautiful blue “Water Gloss” ceramic tile compliments the dark slate of the concrete counter.
Backsplash tile almost done
Meanwhile, the mudroom cabinets are getting final adjustments.
November 8, 2017
Greg puts final touches on the finish paint.
finish paint all done :-)
Green tags on the permit is a beautiful sight, and means we’ve passed inspections.
November 16, 2017
We are back outside finishing the deck. The perimeter boards are set first.
Once the perimeter boards have been installed, we add the Trex boards themselves.
The steps will give the deck a softer edge into the back yard.
The Trex decking is installed in single boards, which means no seams.
Trex is a composite lumber material made from a mixture of wood fiber and plastic. It is denser, stronger and heavier than wood. It has a long life span and doesn’t require sanding, staining, or sealing.
November 21, 2017
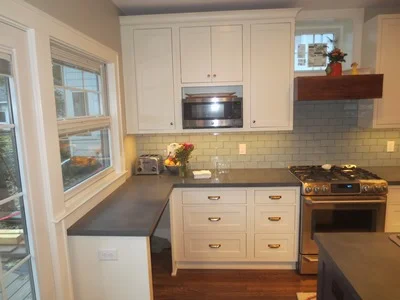
Kitchen is done :-) and being used again...
... just in time for Thanksgiving :-)
November 28, 2017
...almost
railings on both sides are up
done :-)
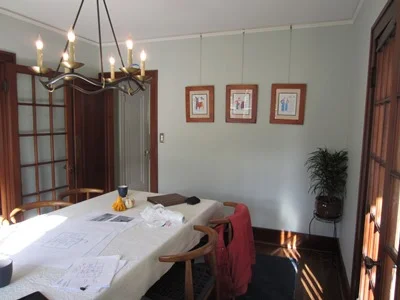
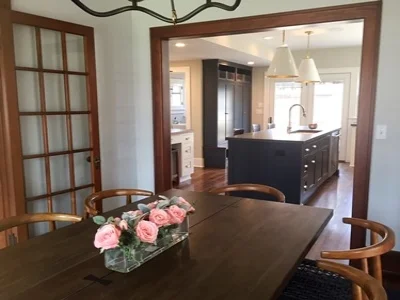
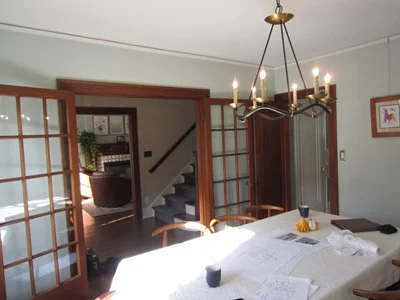
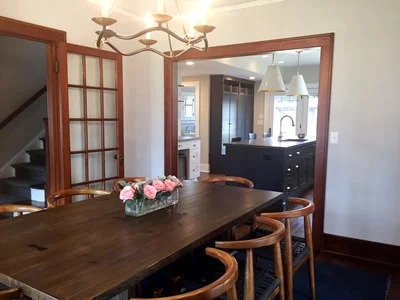
Some Before & After Photos
and some other after photos
Our clients love their new space, and that makes us super happy...
after all, we're all about elevating your love of home :-)

