First Floor Remodel: Morton Burns Park
Completed February 2012
AFTER PHOTOS
Our clients loved their cape cod style home in the Burns Park neighborhood of Ann Arbor. Their home, so full of charming nooks and crannies was workable while their kids were toddlers but as the 3 kids got older, they needed more space that lived they way they do... active, easy to navigate, and connected to their friends and families.
October 1, 2011
In this project, we are remodeling the interior of a cape cod style home. We are
removing two interior structural walls to enlarge and open up the kitchen while
re-configuring the entry and powder room to create a real mudroom.
Here is the existing plan. See how the kitchen is constrained
by walls both sides, leaving it isolated and small.
This is the new plan. The entire kitchen is open to the dining room.
The new mudroom allows easy access from the garage. The powder
room has been relocated, blocking the old entrance to the study.
A new, large arched opening will be put in near the foyer,
making both spaces more gracious and inviting.
October 2, 2011
The existing kitchen
The kitchen will be expanded into this breakfast area.
The purple wall will be removed, connecting the dining to the kitchen.
This bathroom will be relocated to the left side of the hall. The
far wall will be removed to create the new mudroom.
We will open up this wall to create a large arched opening into the study here at the front door.
This will improve both spaces, creating a gracious connection.
October 6, 2011
Demolition is well underway. Due to the presence of lead paint, we’re wearing respirators and plastic suits for our protection. All materials with lead will be removed, and the surfaces properly
cleaned before any new work will be done in this area.
October 19, 2011
The wall between the breakfast & garage has been removed.
The brick wall beyond will also be demolished as well.
The tile floor is coming out next. The new floor will be hardwood,
flush with the existing flooring in the rest of the house.
This is the key wall of the project. As you can see, there is plumbing, ductwork, and
electrical in the wall. It is also structural, holding up the second floor joists. We will
re-support the floor with new beams, and then run all this through a soffit and chases.
It is often a challenge to live without a kitchen for an extended period of time. We do
our best to accommodate our clients’ needs. For this project, we run plumbing for
a temporary sink to allow for a 1st floor kitchen during the project.
Cabinetry, counter, and plumbing fixtures were salvaged from the existing kitchen.
October 25, 2011
Here is a video showing the project at the rough framing stage. Gary walks
through several changes that have already happened (including adding a
header) and things to come (such as removing a bearing wall).
October 28, 2011
The wood framing here is a temporary support wall. This
will allow us to remove the existing wall and install a new beam.
Here the beam is in place. The beam is flush with the existing floor framing.
This allows us to have a flush ceiling across the entire kitchen space.
The support wall has been removed, leaving only the face brick behind to be demoed later.
November 3, 2011
The existing slab has been demoed. The ground has been graded
to create proper drainage across the slab in the garage.
The vapor barrier and steel reinforcing has been put in place.
The concrete will be poured soon, and then new walls will go on top.
November 9, 2011
This large bearing wall is coming down. The stud wall in front
is temporary, to support the floor above during demolition.
Now the supporting walls have been taken down, opening
the dining room fully to the new kitchen area.
November 13, 2011
On the outside, here is the existing into the kitchen. We will
replace the original window, existing it taller and wider.
The old bathroom wall is completely gone.
The new mudroom is now open from the garage to the hall.
November 30, 2011
The kitchen floor, above the concrete slab.
The rigid foam insulation will help keep this area warm.
Looking into the kitchen. Plywood covers the insulation in the floor. We have installed fiberglass batt insulation in the walls and in the ceiling. Drywall will be coming next.
Looking the other way, you can see the large beam spanning the entire width of the dining room. Plumbing and ductwork have been routed along side it, and down at each end.
December 5, 2011
The drywall has been installed. This is the view from the dining to the kitchen.
The opposite view, looking at the dining room.
View from the hallway. The powder room and closet are on the left, the kitchen and dining to the right. Straight ahead is the new mudroom with the garage beyond.
December 20, 2011
The mudroom tile is in place, ready to welcome muddy boots.
The first coat of paint is on the walls, and the floor is
prepped for installation of the new hardwood.
December 30, 2011
The hardwood floor is in, blending seamlessly with the old floor.
The new opening from the foyer to the study
is visible, with the flooring patched and blended.
January 4, 2012
Brian is setting the new kitchen cabinetry.
January 20, 2012
Cabinets are in place, allowing for countertop installation.
The countertop is blue pearl granite. The white cabinetry becomes
a backdrop for this rich color, as it sparkles in the sunlight.
Countertops were also installed at the new bar sink.
January 27, 2012
The kitchen backsplash: white ceramic tiles with stainless steel tiles behind the Viking cook top.
Blue accent tiles enhance the blue coloring of the granite.
Appliances are set, hardwood floor has received
its final coat of finish. Ready for final painting!
February 9, 2012
Project complete! Our clients have happily moved back into
their kitchen and dining room and the rest of the first floor.
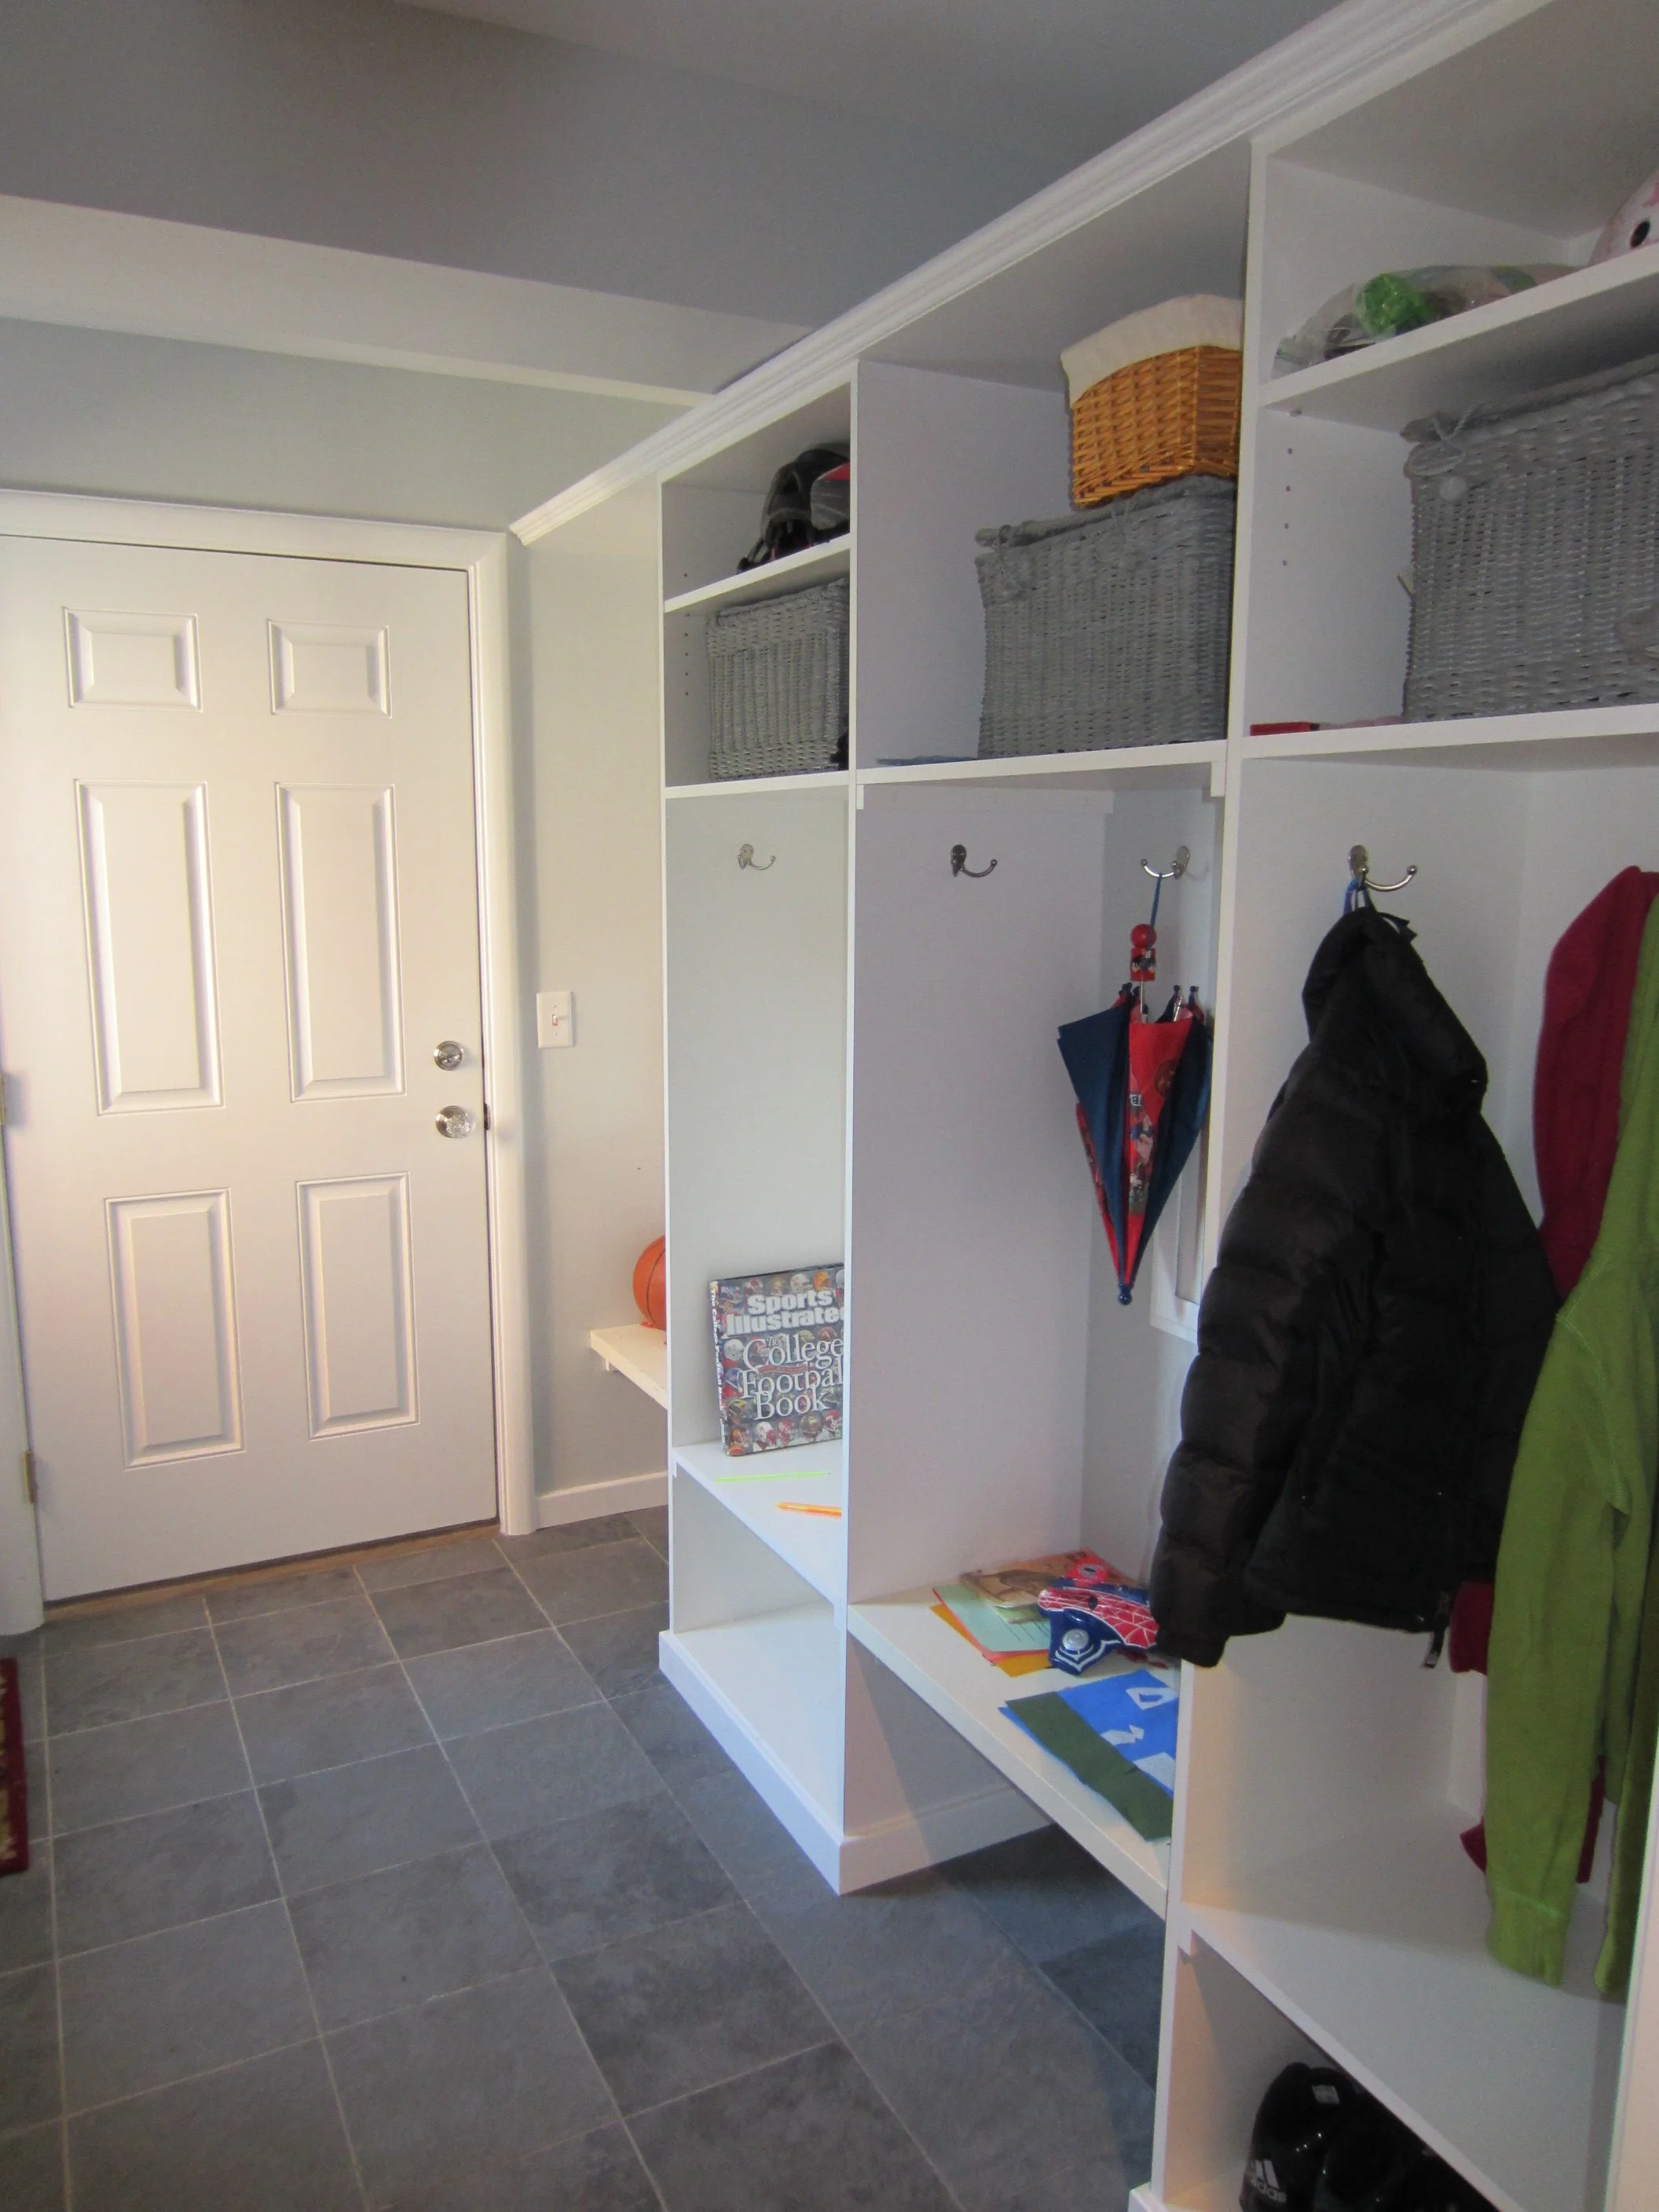
The finished mudroom, with cubbies for the entire family.
The spaces are open to each other but clearly defined. The removal of two bearing walls clearly made a huge difference. The new materials and colors have a fresh and clean
traditional feel, enhancing this classic home.
February 28, 2012
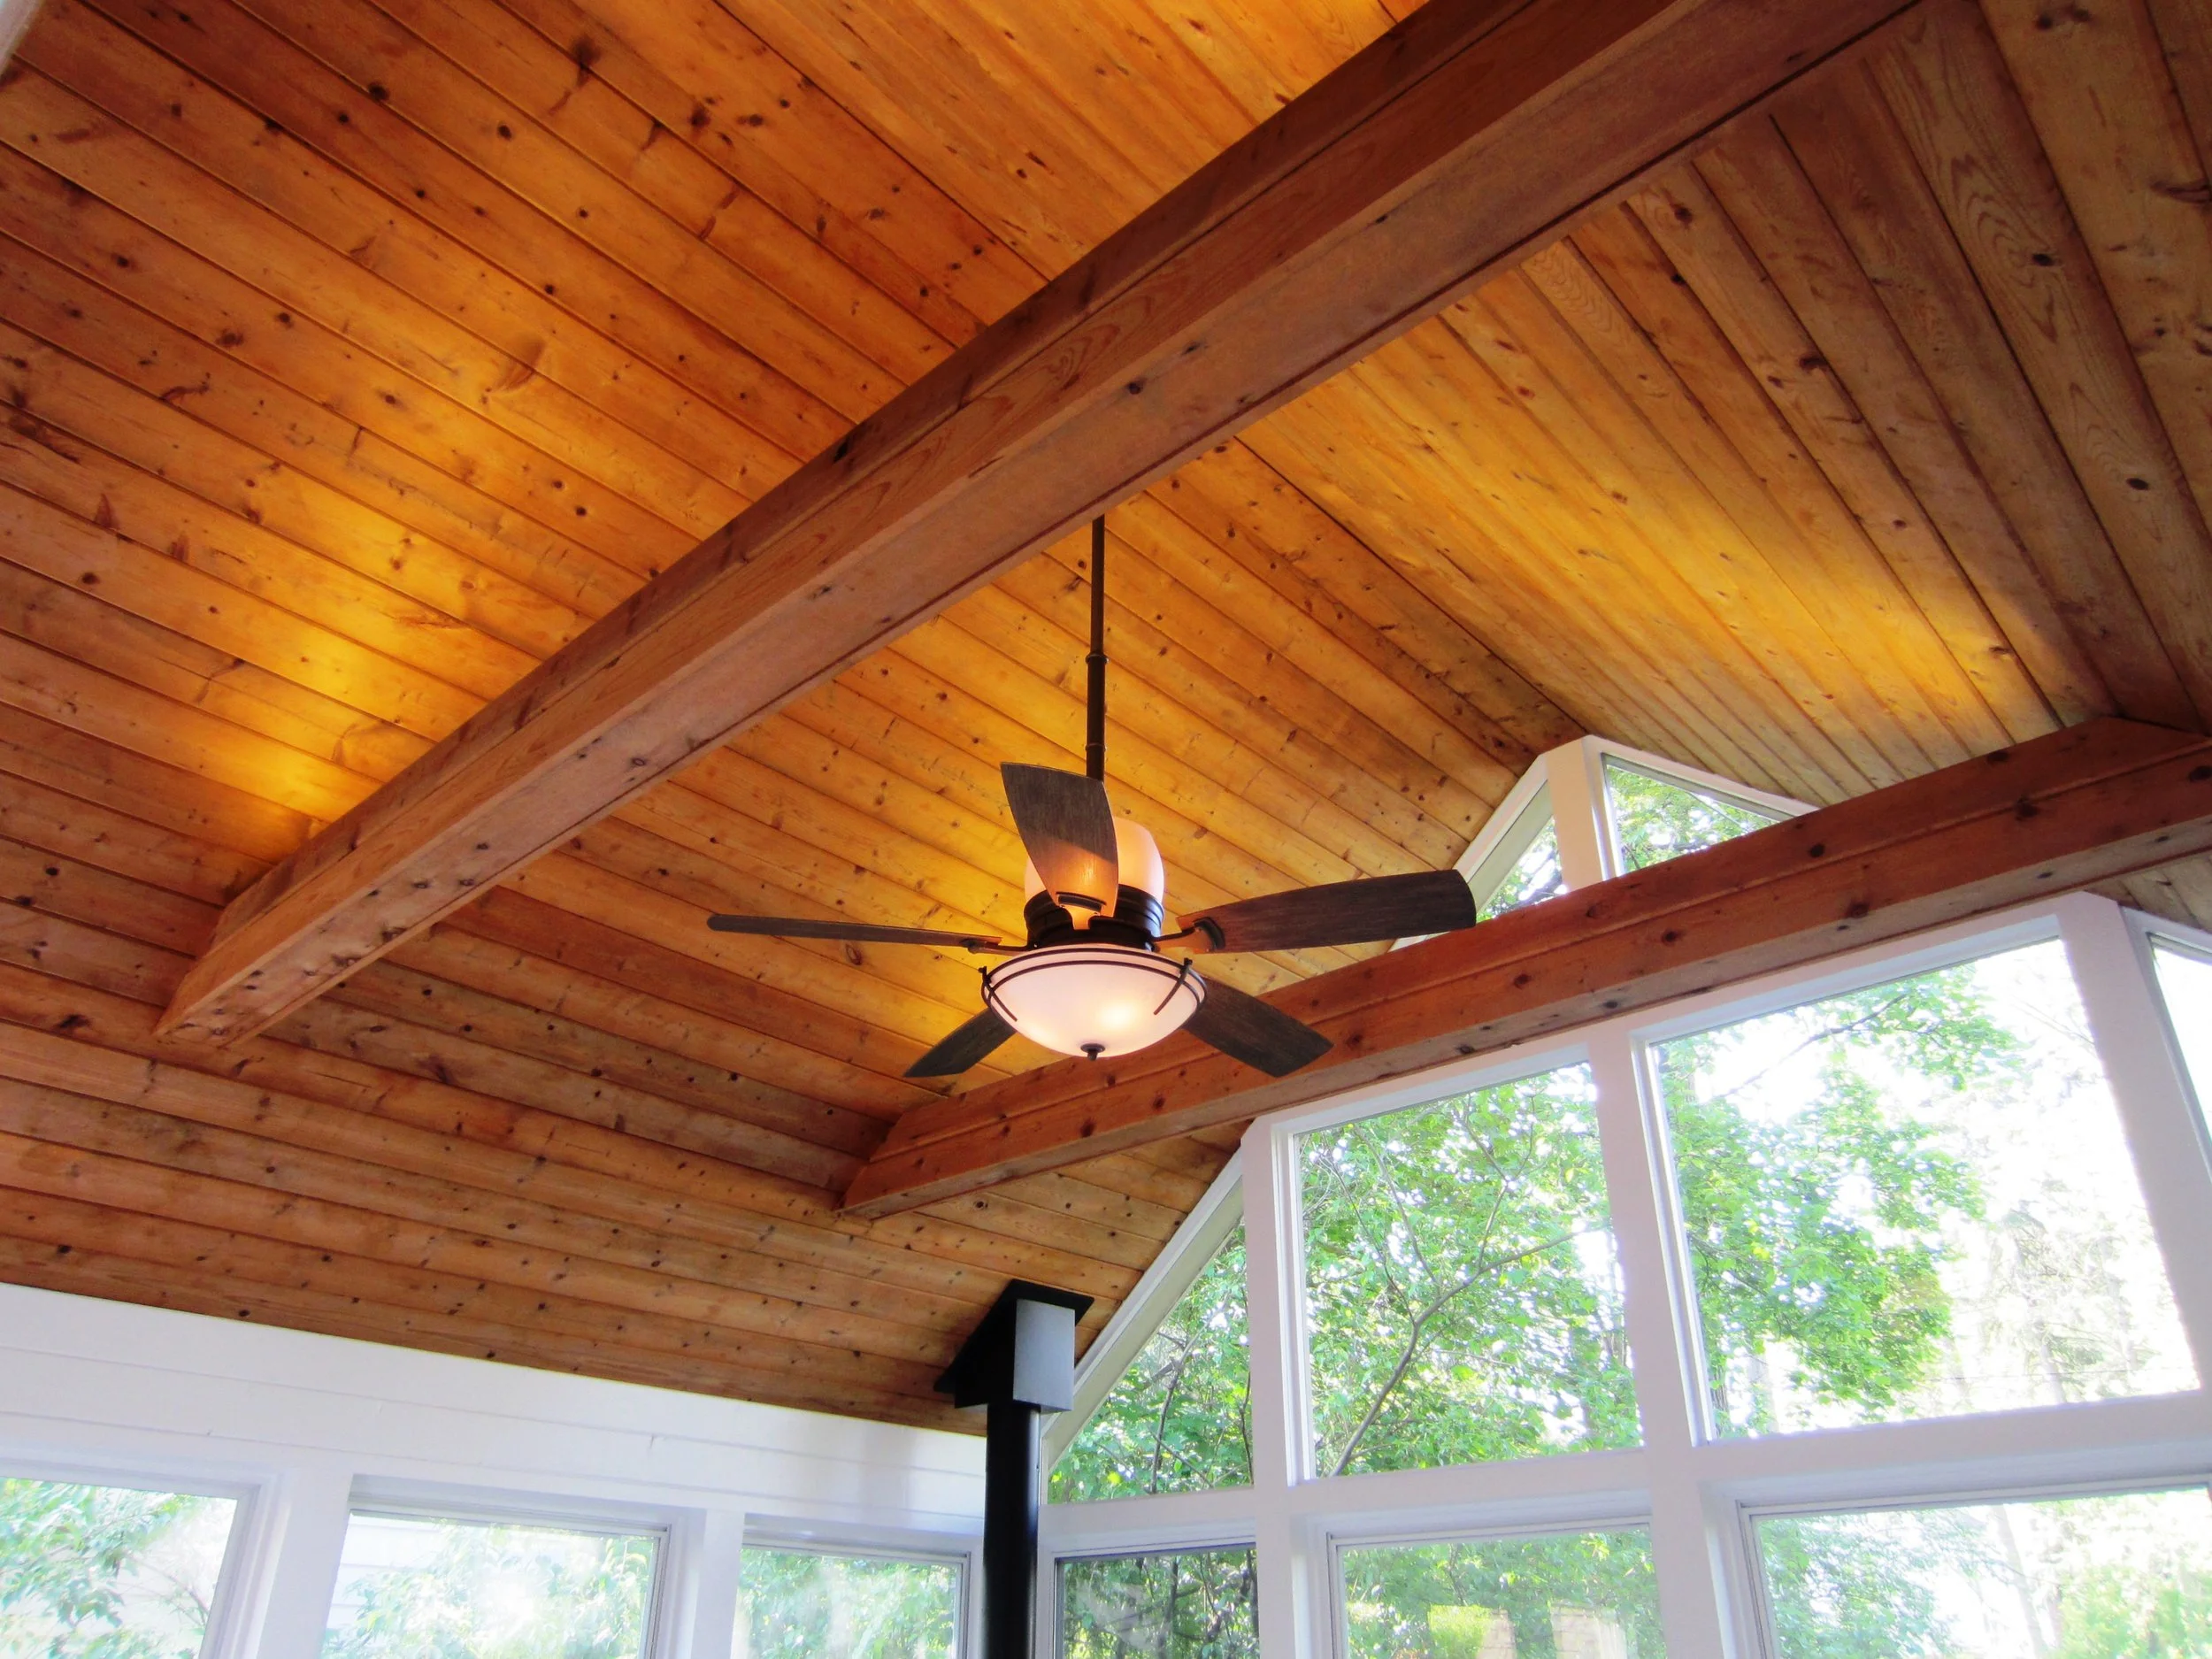
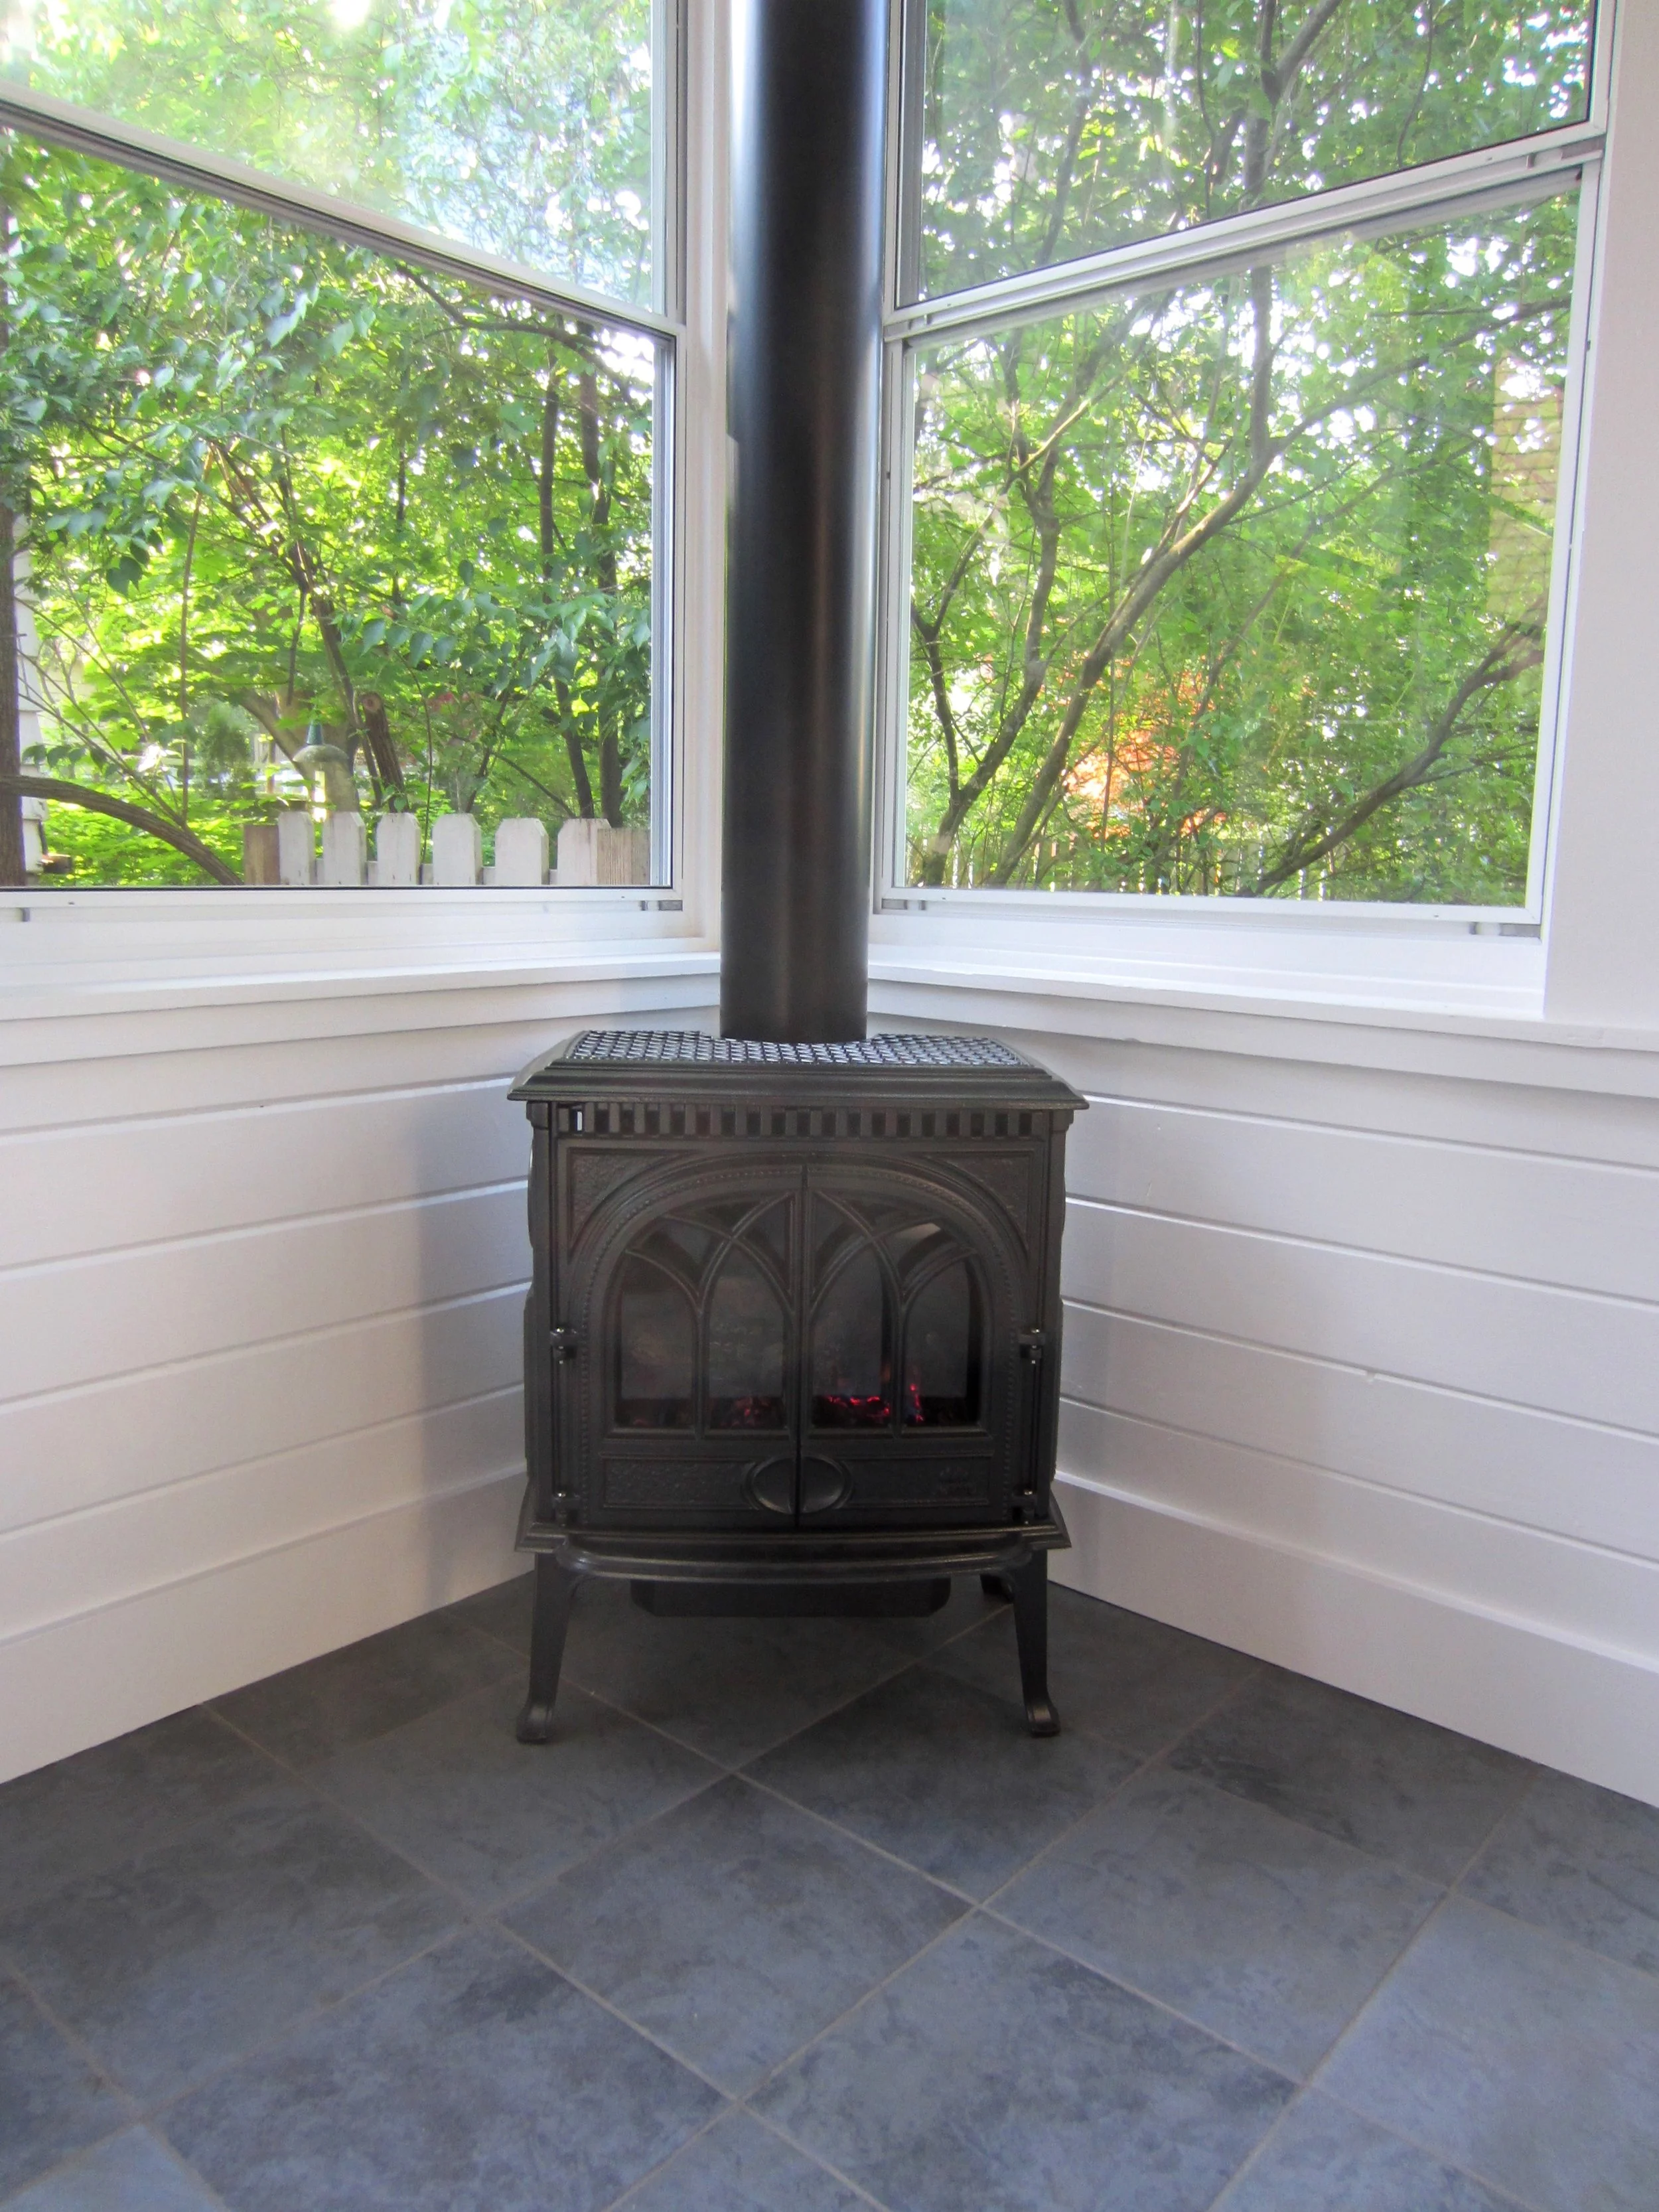
When finished on the main project, the clients had us convert their screened porch into a 3-season room. New windows, heated tile floor, and a fresh coat of paint increased
both the visual quality and usability of the space.


